Have success in the collimation of your telescope !
Chapter
1 : Easy Collimation :)) |
| Chapter 2 : Have success in your collimation "final phase" |
Chapter
3 : Collimation with an artificial star (1) |
Chapter
4 : Collimation with an artificial star, inside, outside (inspired from Texereau) |
| Chapter 5 : Good Collimation with Astrosnap ! |
Chapter 1
: Easy Collimation with a camera or a webcam :))
as it is often difficult to be at the same time in front and behind
one's telescope
:))
(many surveillance cameras have a large sensor which facilitates the
work especially
at the begining when the optics are far from good collimation)
First rules :
use the same optical
line than when
you are observing
and wotk with a star not far from the object you want to catch
and above all wait until the telescope has reached thermal equilibrium
!
Also if possible go to a location where seeing is nice (avoid towns or
at least
prefer large lawns in front of the scope)
 |
 |
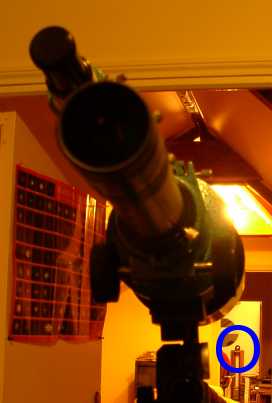
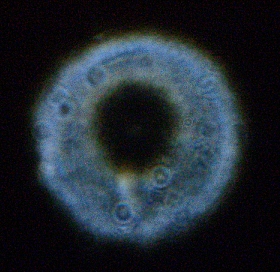
Here, our starting
point (focal
length is 7.5m !) as seen on the video monitor |
This shows at best focus ... |
 |
 |
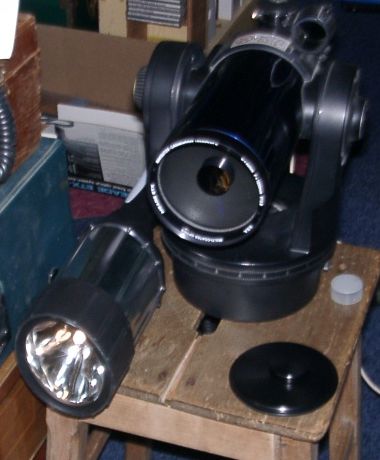
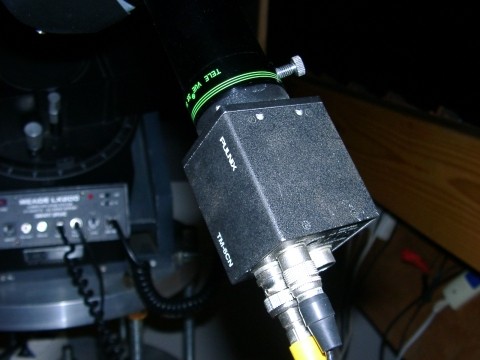
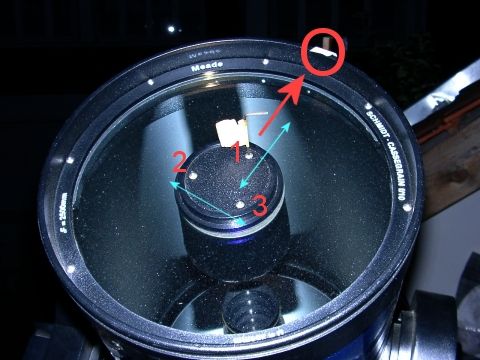
A large sensor
B&W surveillance
camera is place after a 3x barlow behind the 10" LX200 |
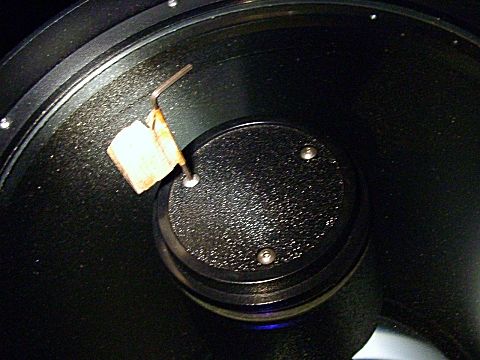
For the work use
the proper
Alen with some white tape on it to find it better in the dark if
fallen.
Also you will see it better if you replace the cover at any
moment, forgetting
about it. |
 |
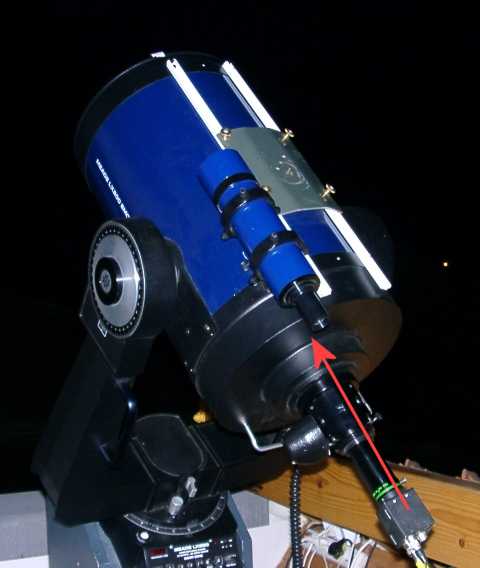 |
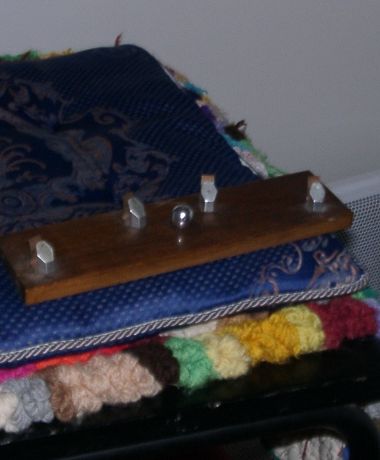
Here is the
disposition to
adopt in order to succeed with the explanations below. |
Now at the rear of
the scope,
adjust visually the top plate of the camera |
 |
TAKE
CARE :
DANGER ! |
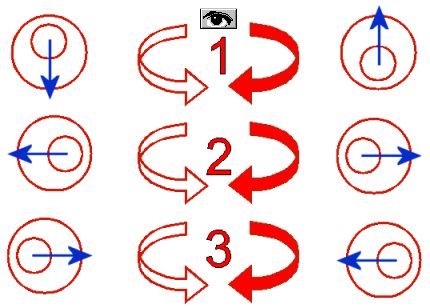
Here are the main movements generated on the monitor when adjusting screws #1, #2, #3 In order
not to loose the
star picture and also to improve collimation, |
Above what will
happen (small
vertical moves generated by the #2 & #3 screw not shown) IMPORTANT NOTES: 2) when you get nearer from
good collimation,
you must "allmost not" turn the screws anymore :) 3) Remember that the movements done to screws #2 & #3 generate some vertical movement easily corrected by turning screw #1 afterwards. |
 |
 |
| After a few min of work, reduce the
size of
the star image by focusing better and redo previuos steps. You
should also
diminish exposure in order not to saturate the screen (or choose
another
smaller star). |
This is the aspect now with a
higher mag
star. At the eyepiece it is possible to see the Airy disk. |
TAKE
CARE :
DANGER ! |

 |
Above what will happen (small
vertical moves
generated by the #2 & #3 screw not shown) |
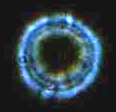
Above : Aspect of circles near end of
phase
2 collimation ... Left near focus, right far from focus Attention, this is not the Airy figure ! It appears only when perfectly focused by good seeing ! |
Chapter 2 : final phase with the camera
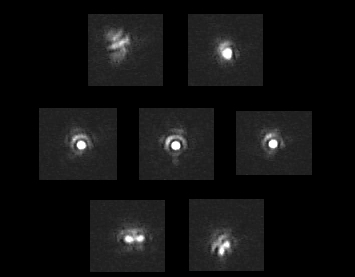
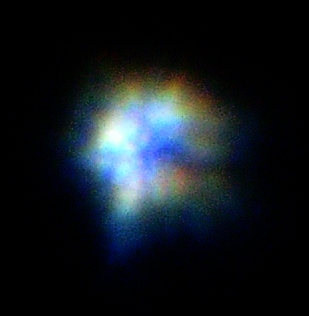
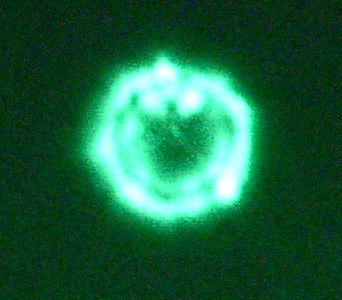
Those Airy disk images
are real ones
! They are taken with my 10"
SCT
Meade LX200 and show Vega.
An unmodified Vesta Pro (10fps, luminosity 100 and low gain) + a 3x
Televue
barlow have been used.
The 3 rather nice
images of the central
row (the only ones on the 1206 frames of a 2 min AVI)
are in good agreement with a level 3 collimation according to Thierry
Legault
(see http://perso.club-internet.fr/legault/collim.html
)
On the contrary the
thousand other
images show important deformations
This explains why it is difficult to succeed at the eyepiece !
My suggestion is then for T>125mm :
Step 1 : do the best collimation you can by eye using a barlow...
Step 2 : Make a 1 minute AVI of the Airy disk and look at it frame by
frame
(in VirtualDub)
or try to select the best frames as for a registration with Registax
to see
what quality has been achieved when seeing is good for an instant !
Also the % of rather good images (here about 5%) is a good indication of seeing !

Here is the result of the combination of the 13 best images with Registax.
.... to be translated later ....
Chapitre 3
: Easy collimation with artificial star
(Here methode 1... new one chapter
4)
|
|
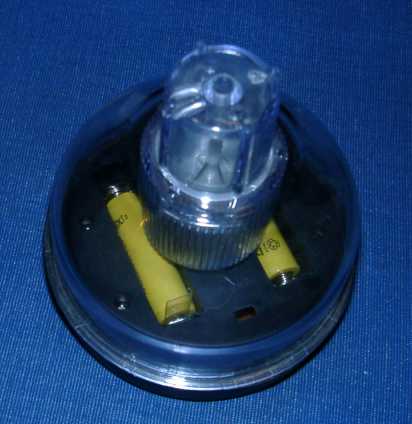
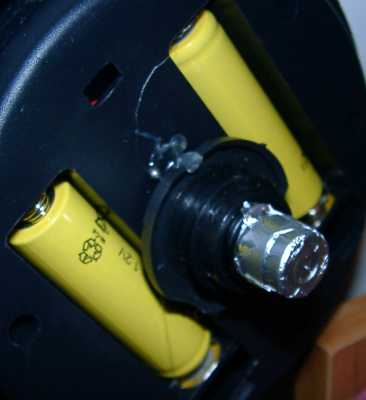
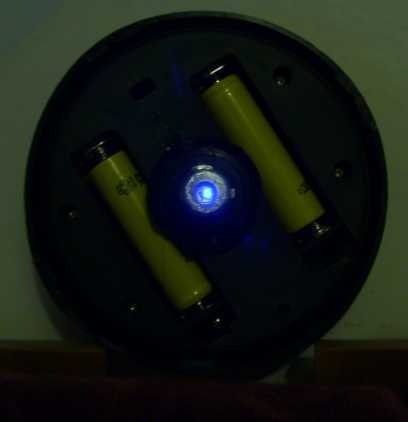
LED garden bulb |
Vesta eyepiece glued with
hot glue and aluminium paper cap with a very small hole done with
a needle. |
 |
|
The DIY artificial star |
It is very bright |
|
|
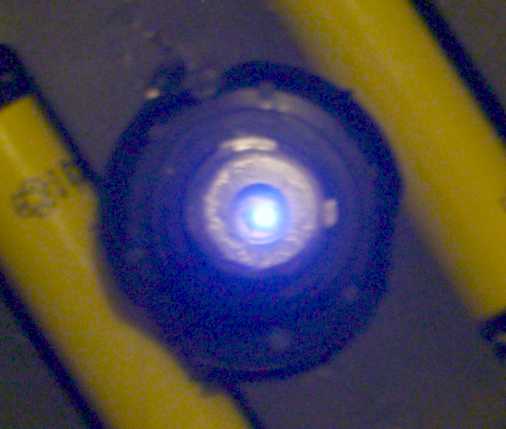
You need to put the scope at about 15m |
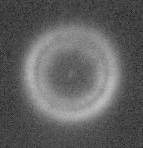
quality check : 80mm refractor,
6mm eyepice, the artificial star in in the round blue circle |
 |
|
What you get ... |
QV Casio on tripod dehind the eyepiece |
Chapter 4 : Easy collimation with Texereau inspired artificial star
|
|
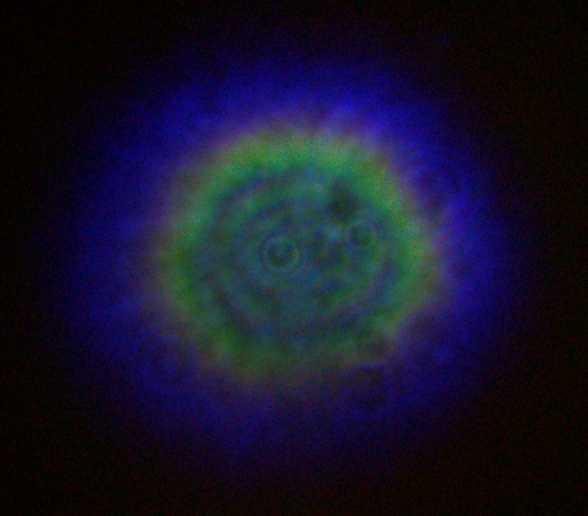
The scope is placed near a very bright torch (could also be a small laser) |
A stainless steel polished marble of 5-15mm is placed at about 20m and in the dark. During the day, put the marble inside a long carboard tube. |
 |
|
Very nice diffraction images are obtained |
Here a short movie |
If the bulb is very powerful don't play to long (joke !)
|
|
 |
|
Chapter 5
: A good simple fast collimation
here with free version of Astrosnap
Center a star, use software guiding with limit detection and set the size
The red dot must stay staistically at the center of the unfocused star otherwise do some minor corrections

Also try to superimpose
the image coming from the webcam with this freeware from Gilbert Grillot
:
Reticule for Collimation
Mire
de Collimation

Another nice reticule "AI's SCT Collimation Aid V1.1" is waiting for you near the bottom of "Astro Softwares page"
New : Collimation verification with Astrosnap and DMK21AF04.AS

Settings :
Telescope : TSC LX200 12", Televue
3x barlow, cooled for more than 7 hours
Astrosnap : Soft tracking activated (Axis sum), Zone 230 pixels, Minimal level
detaction 140, Integration 10frm loop, 6 level Wavelet filters (-2000 424 2727)
camera : 640*480, refresh rate 3.75ms, 30.6ms exposure, 1023 gain, gamma 20,
logarithm 155
Collimation sight adjusted
latest software available : Al's Collimation Aid !