Instead clic on Lusol3D.jar image below to download a copy on my site!
LuSol-3D : Solar and Lunar Rotation / 3D Software / Registration
HINTS about image registration, processing & animation of Solar images with large prominences ! See bottom of page ... (20220811)
This Java software, written by Olivier Cioni, can be downloaded as an executable, Lusol3D.jar, but this page does not exist anymore ...
Original download page : http://www-old.astro-gresivaudan.fr/logiciels/lusol3d/
Instead clic
on
Lusol3D.jar image below to download a copy on my site!
I collaborated with the developer especially concerning the 3D functions ...
I will show here :
How to apply a corono effect on prominence image
How to use it to make a 3D image of the Moon (could be Sun) from a SINGLE image !
Check that in the folder you have :
Lusold3D with Terre.jpg
STEP 1 : Run
Run Lusol3D.jar (Java must be installed !)
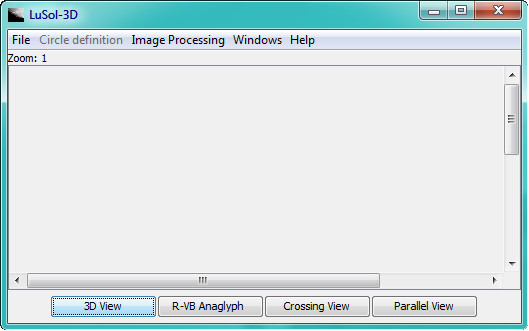
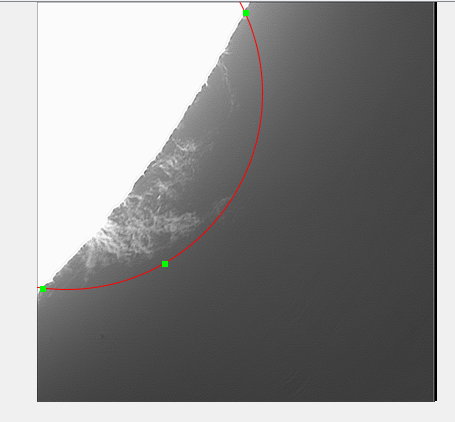
Load your image 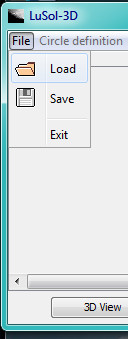
You
see something like this : 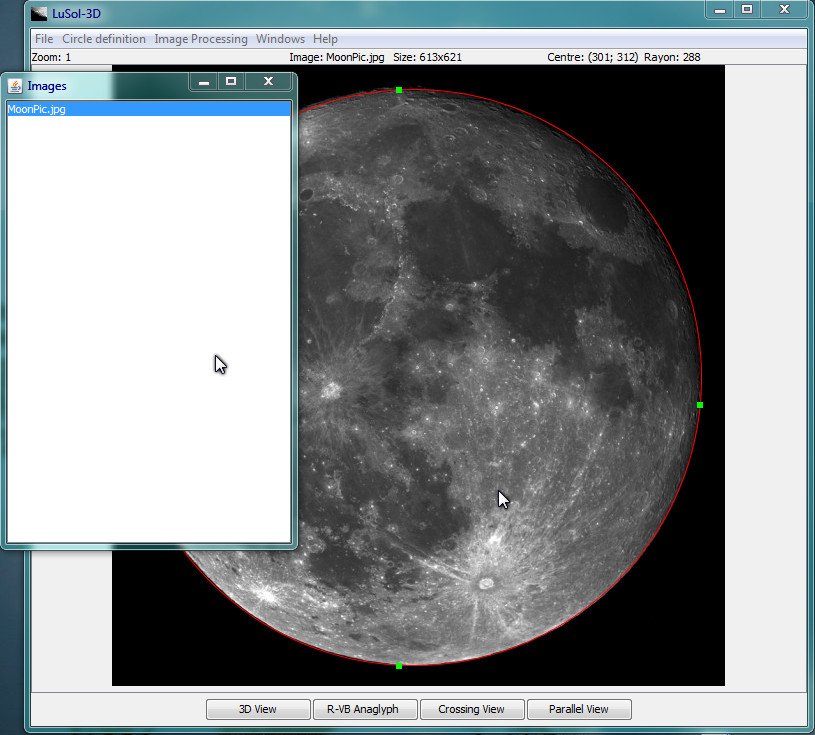
You
can eventually close the Images window if you work with a single picture.
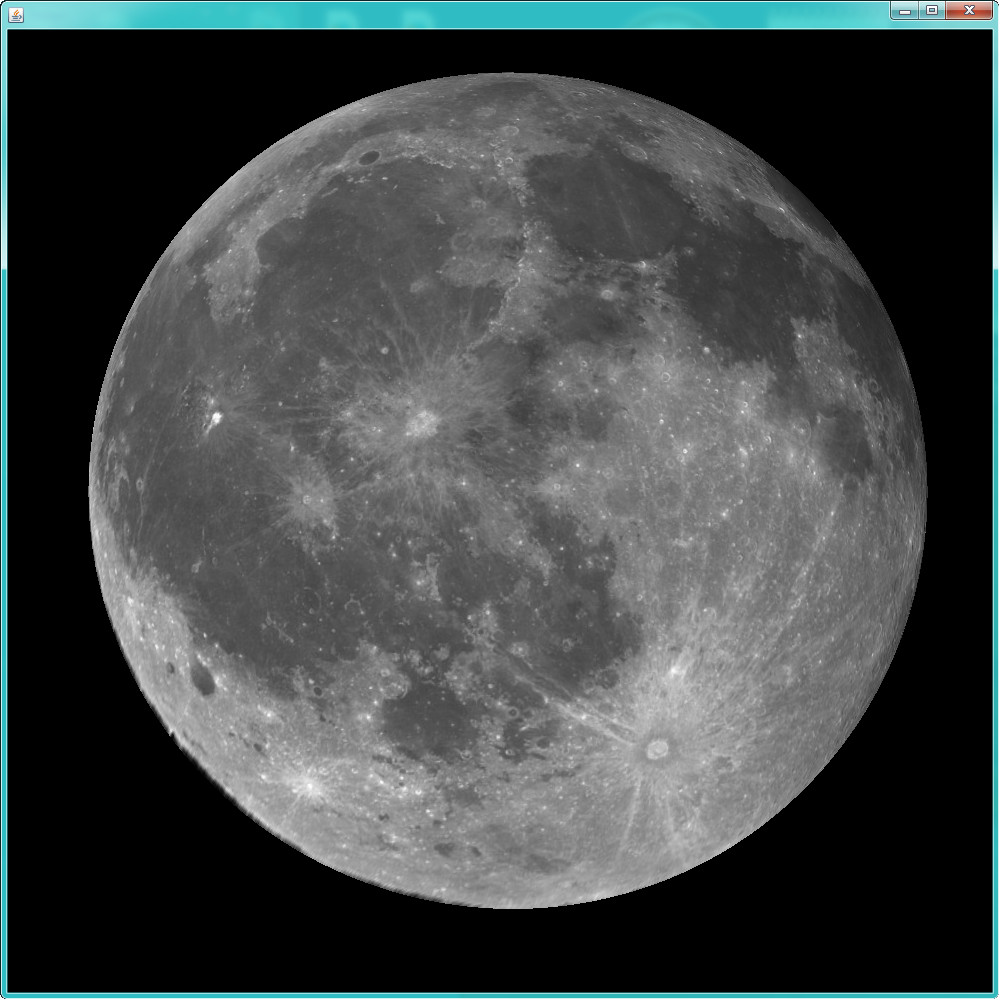
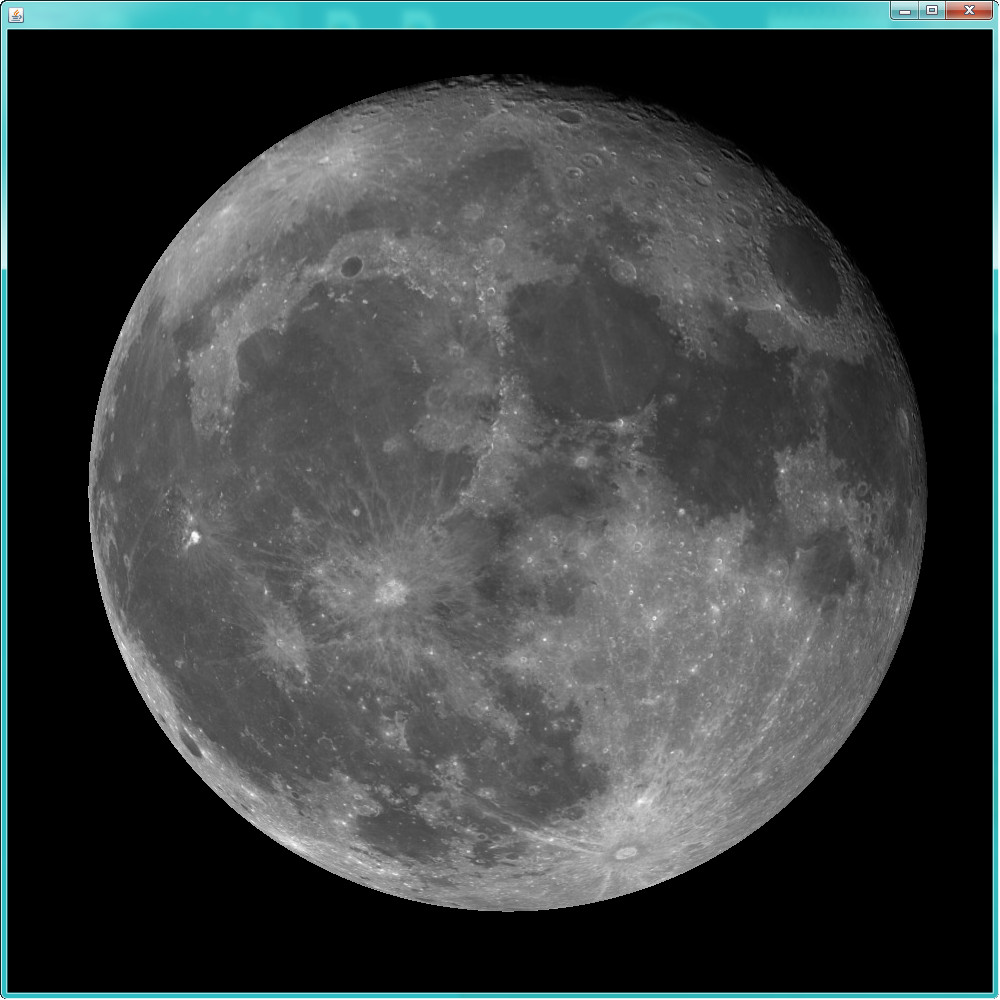
STEP 2 : Borders
Now extend Lusol-3D to full screen (not shown here for space reasons).
Best fit the red circle to the Moon (same with Sun) moving around all the little green
handles.
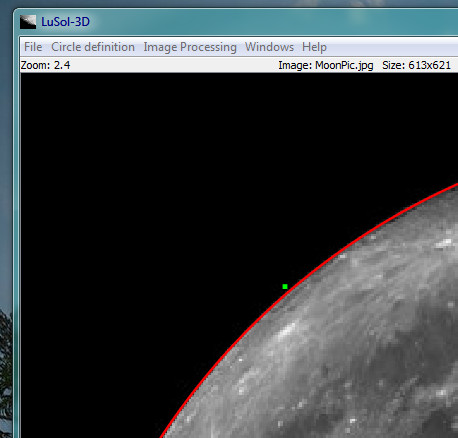
Note : if your object is not a perfect circle (Let's say you work on planet Jupiter)
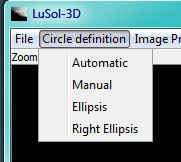
you can change to an ellipse using the 'Circle definition' Menu
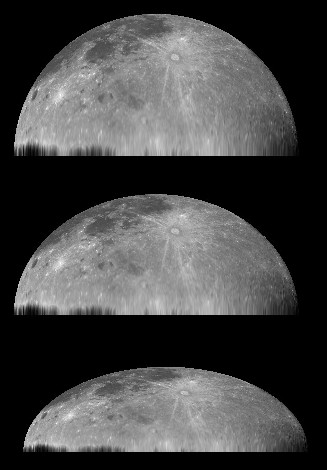
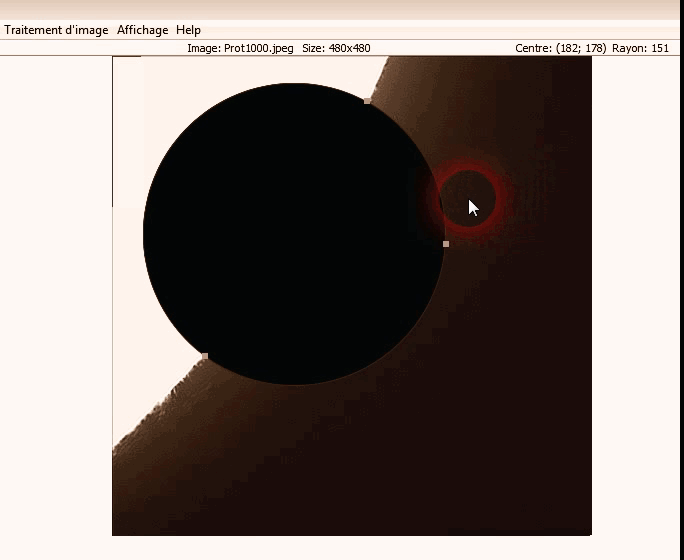
1- Corono effect
 Original
PNG
Original
PNG
Step by step below ...
Click on images with menu in them for larger view.


2- 3D Moon or Sun
STEP 3 : Starting 3D
Now choose 3D view at the bottom of the window
This opens a new window :
 click
somewhere on the Moon and drag the mouse ...
click
somewhere on the Moon and drag the mouse ... 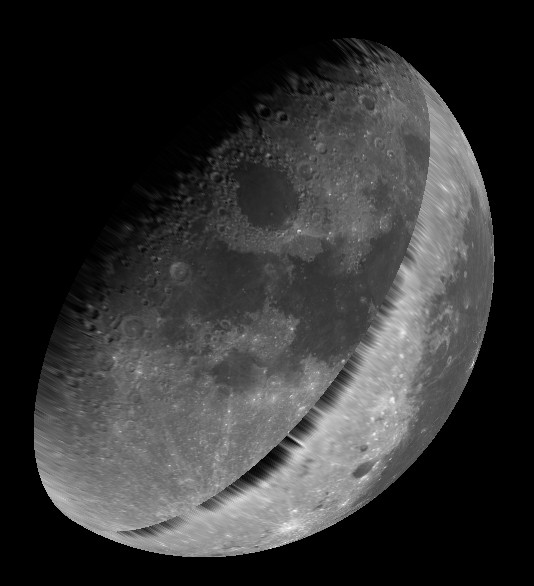 a
3D model is really created !
a
3D model is really created !
With up and down arrows you can change the
curve from spherical to ellipsoidal
(used if your final results look as rugby
balloons) ...
 You can also zoom or dezoom
with the mouse wheel
You can also zoom or dezoom
with the mouse wheel 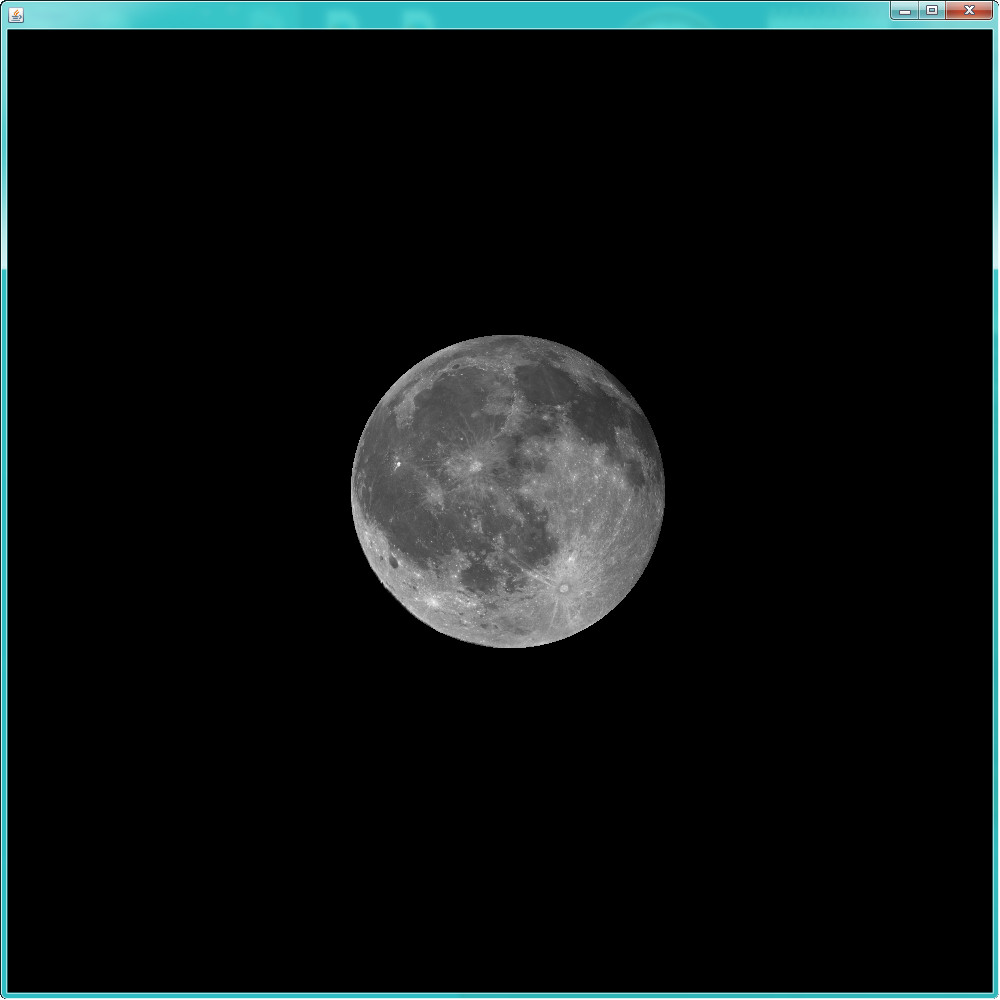
STEP 4 : making the 3D you want !
For the time being (should be implemented in later versions)
- there is no save of this window then you
have to use window or screen capture
- there is no arrows moves then you have to use the mouse carefully to move
horizontally a few pixels ...
Take a first snapshot ... rotate ... take the second snapshot ... (shown here in bi-stereo you can see either in crossed eyes or in parallel :

Drag both snapshots in StereoPhotoMaker (SPM) and chose the way you want to
present the result !
NEW : Registration of
Solar images with large prominences !
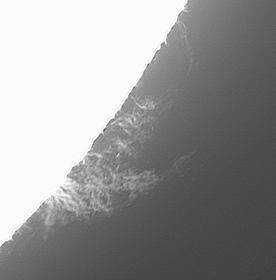
Solar Images, credit Robert Mauran, France
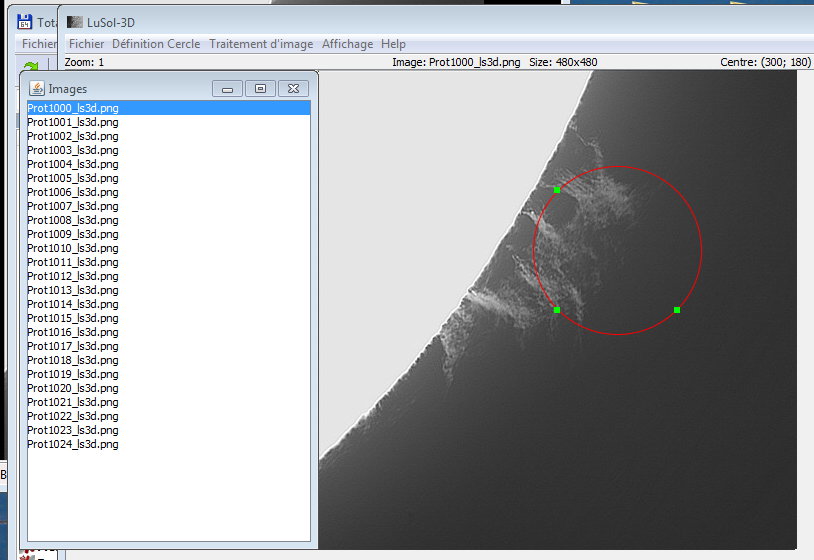
Run Lusol3D.jar
Load your images (here BMPs)

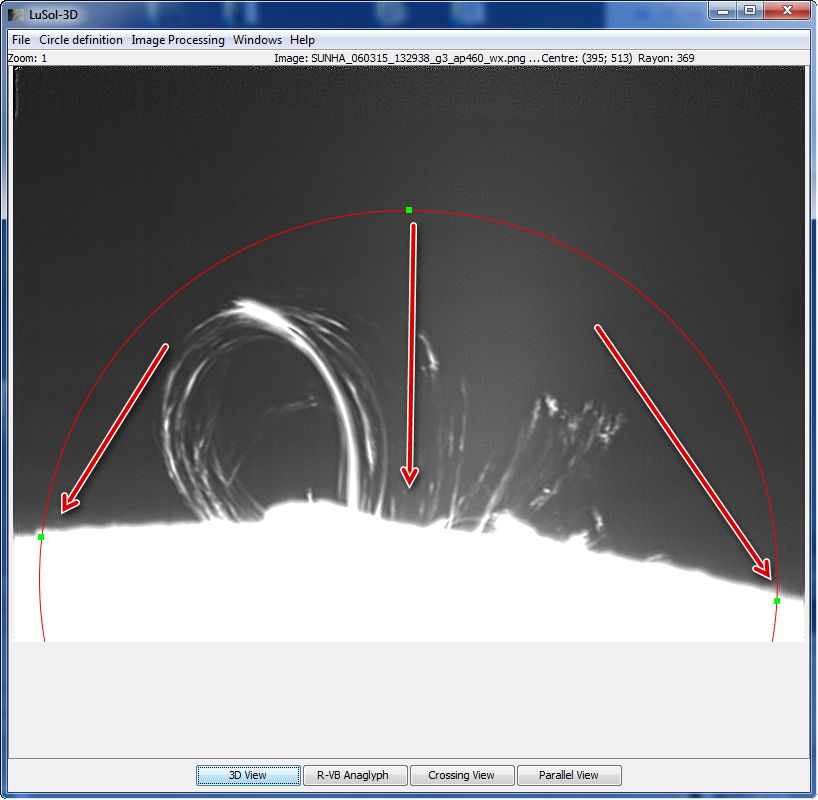
Once loaded (in Images) you shoul see the red circle with 3 green handles (otherwise go into Menu 'Definition Cercle':

Use the handles to place the circle around the prominences
...
Now enter Menu 'Traitement d'image' and click 'Aligner'
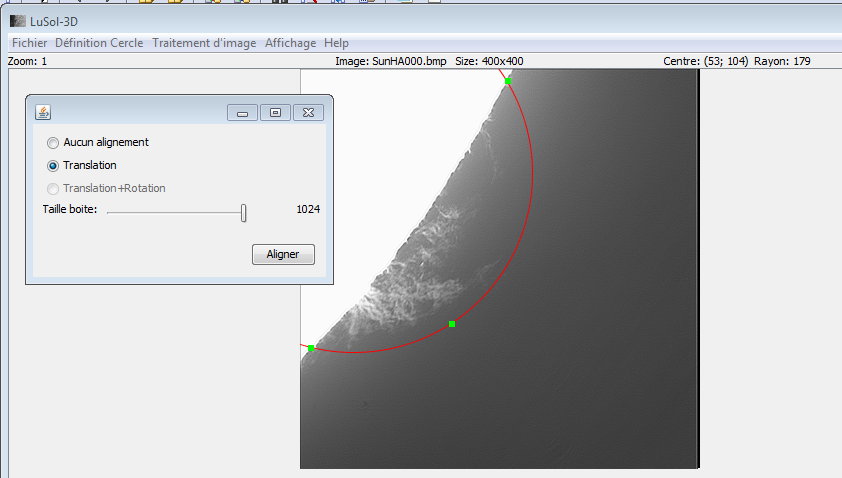
Set 'Translation' and
choose the box as above ...
Click 'Aligner' and then close the window.
Crop / Rogner
You can save only part of the image with this function
...
See video here. When the mouse is still it means that I click in this position
!
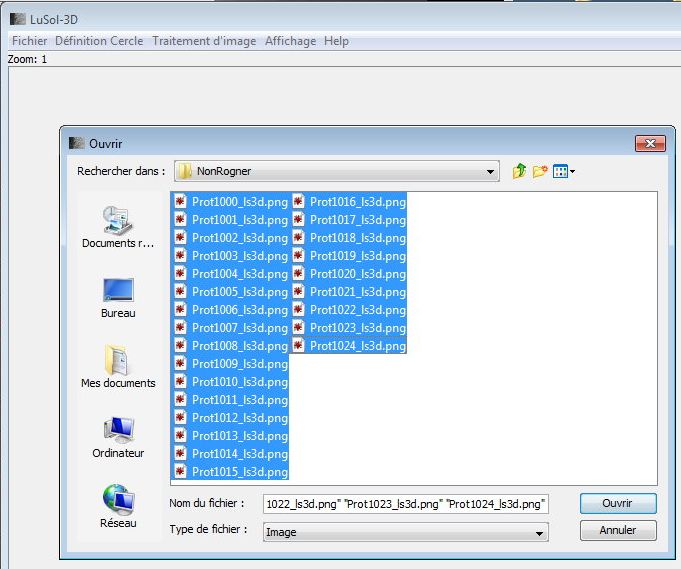
In Menu 'Traitement d'image' and click 'Traitement
du lot' (Batch processing):
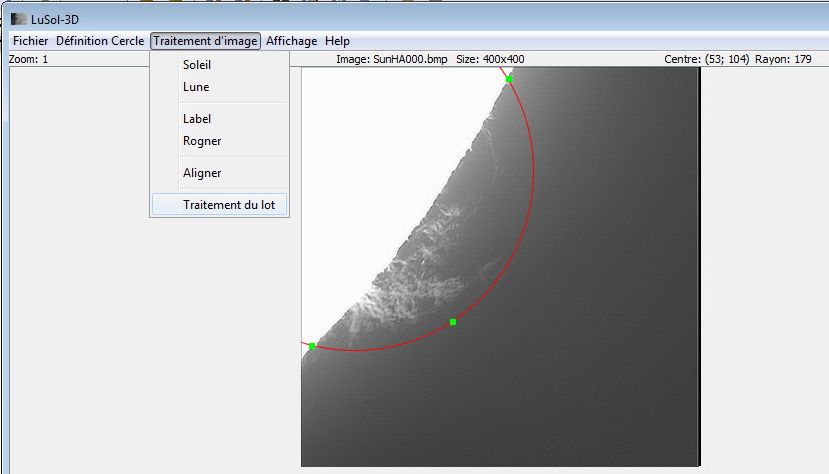
Processing in progress...
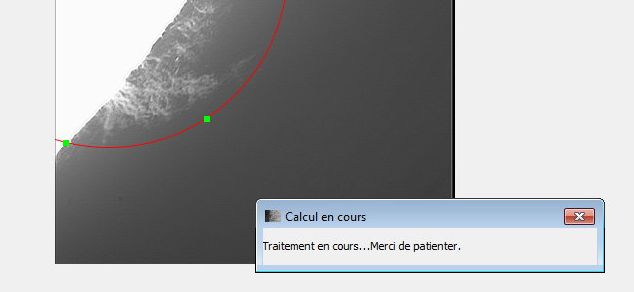
Lusol3D creates PNGs in the source directory...
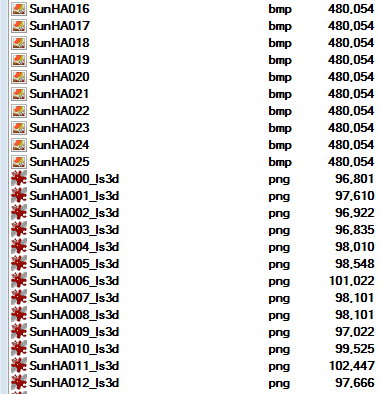
okCreate a new directory and place the PNGs inside.
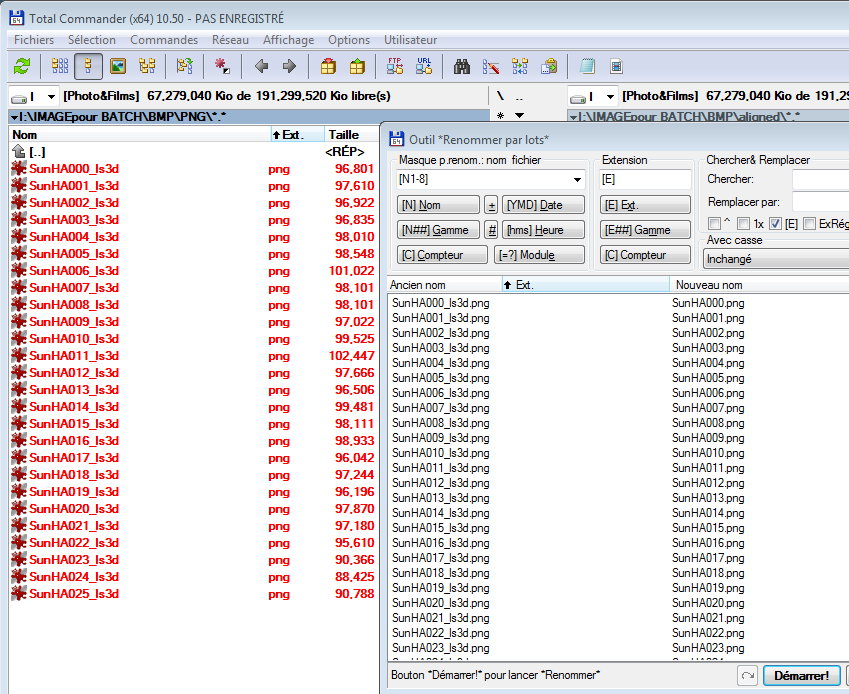
Batch rename them so their name is ended with the number (I use always TotalCommander)
...
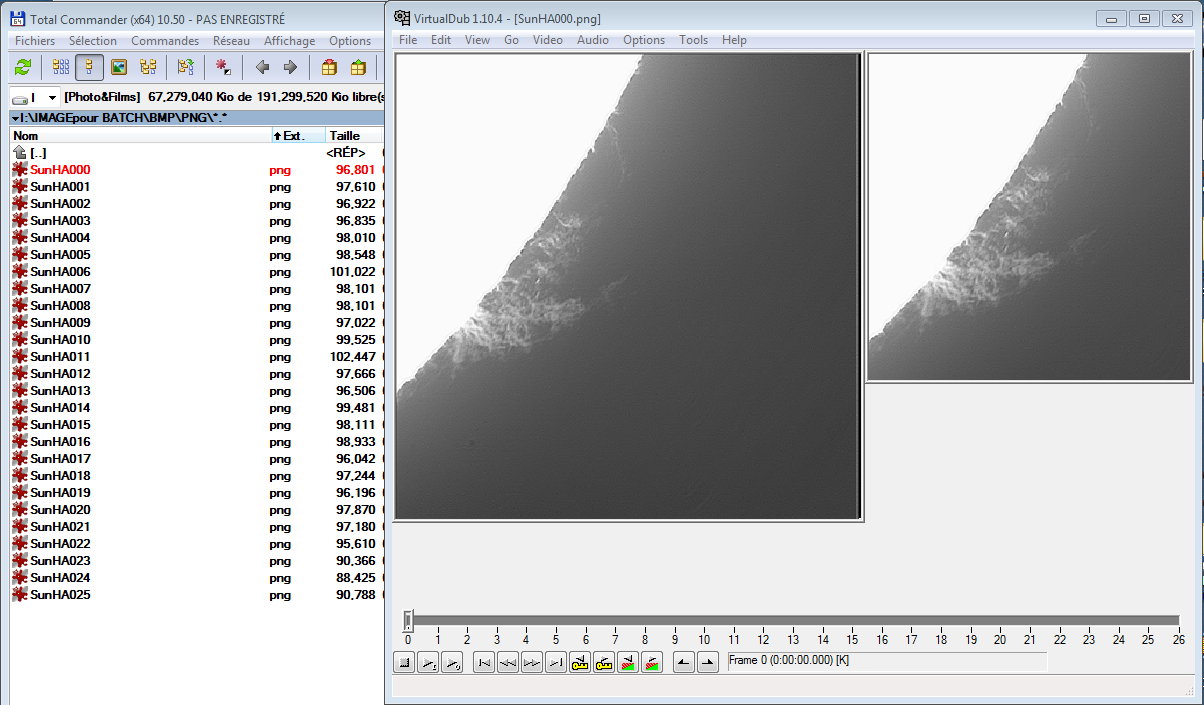
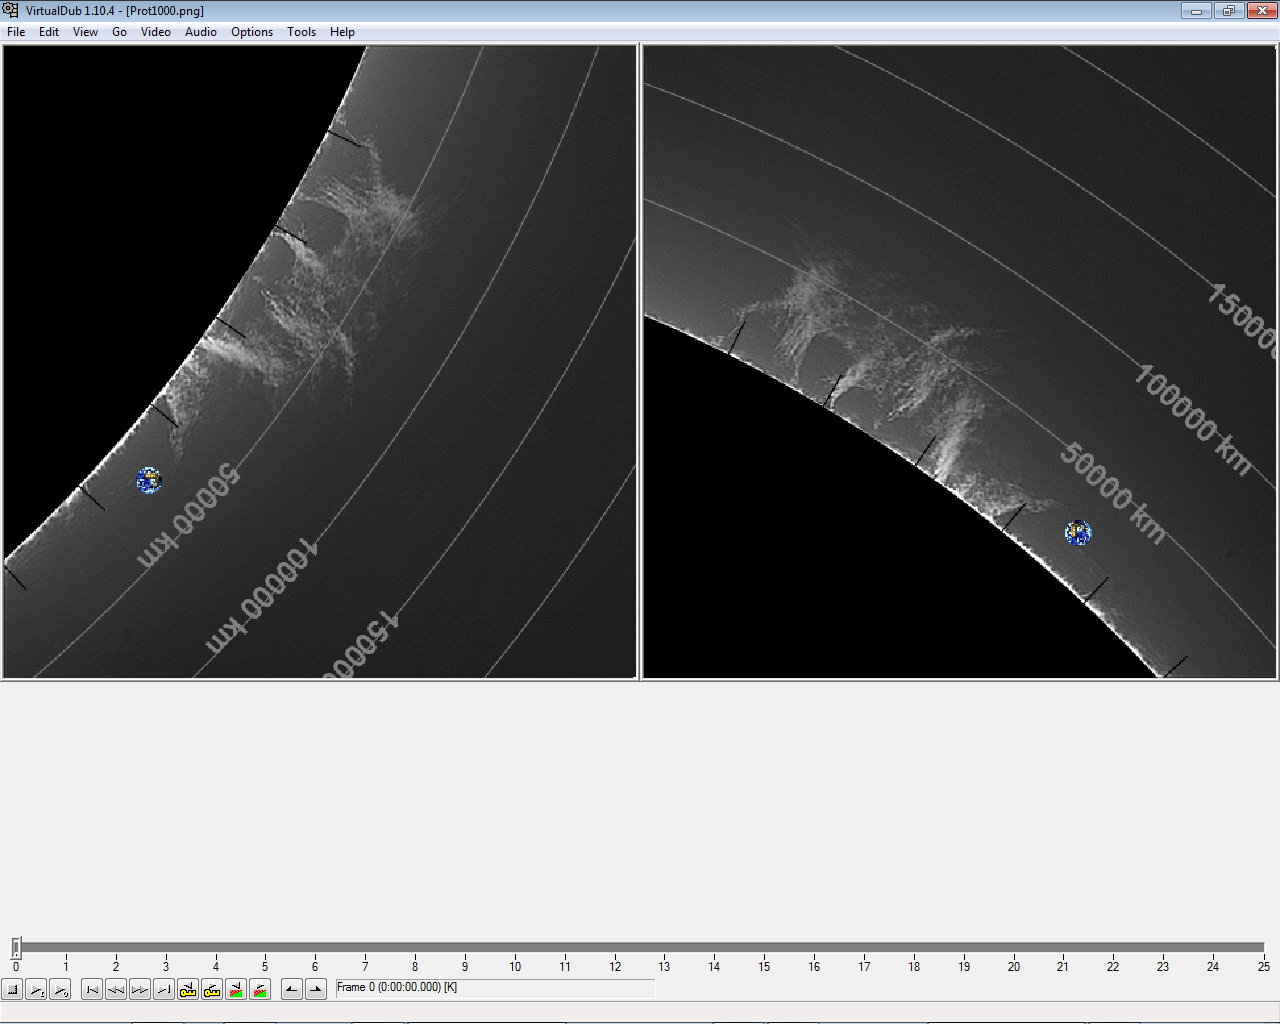
Open VirtualDub and draw image 0 in its window.
All image are automatically inserted.
In image below I already went into Menu Video / Filters / Add / Null Transform
/ Croping
Croping must be done with X & Y dimensions divisible by 4 to avoid possible
later problems
OkYou can now save as AVI-2.0 in FIle Menu or Export to GIF (or image sequence)
Below case GIF:

Result is below ...
All Add-ons for Solar images or animations with large prominences !
I will show you how to obtain
this !
(of course you choose only the features you want)
The final result (Please wait a little until animations are loaded in computer memory=:
Ok, let's start with loading previous 'Registration Done' images
This time of course we use a fitting circle :)

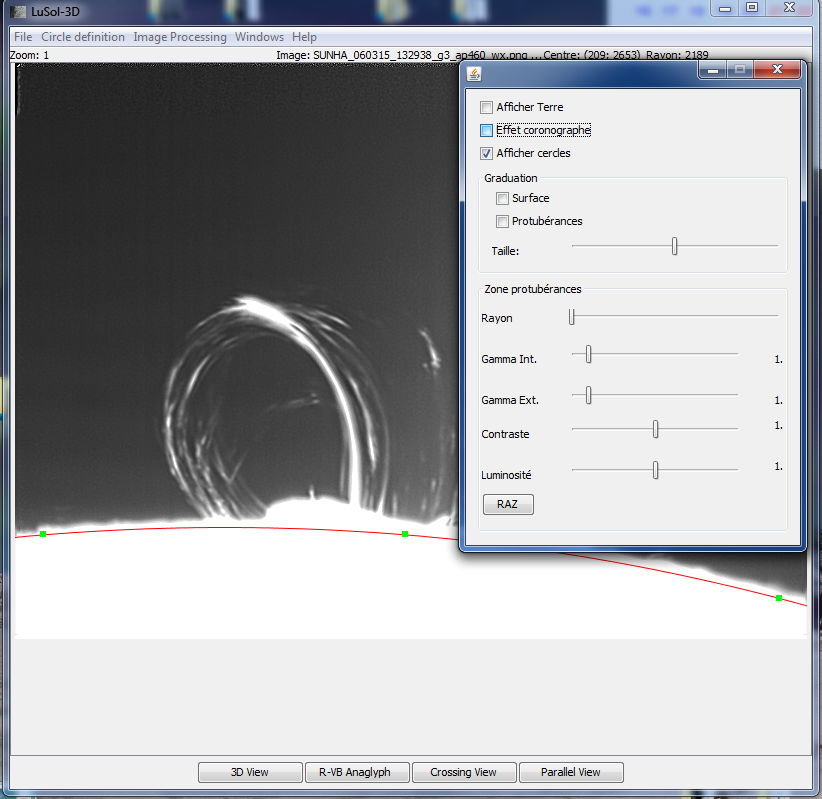
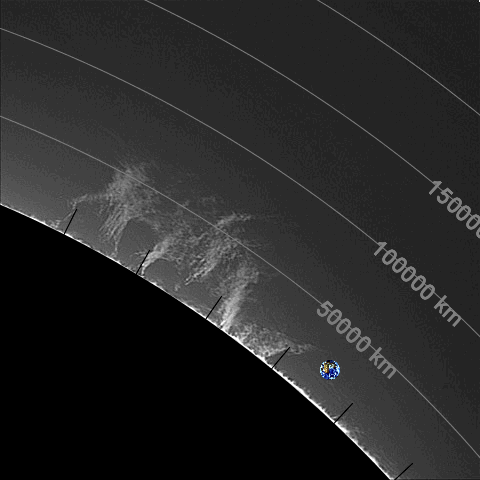
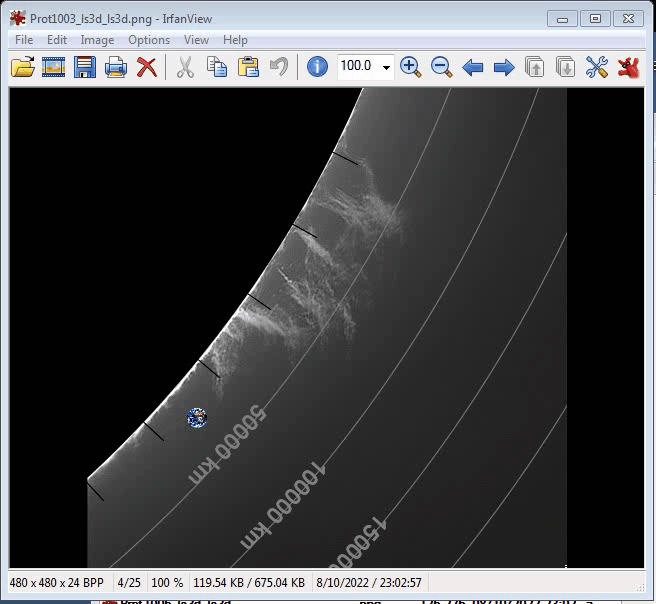
Now we work on posting the height
of prominences (in Km) and prominences aspect levels !
To move the digits or pull them into view, click the mouse on the Sun's
disk and drag horizontally to the left.
For adjusting levels of the bottom and top of the prominences, the movable
green line will be the border,
we can adjust gamma separately in the inside or in the outside
of the
green
circle.

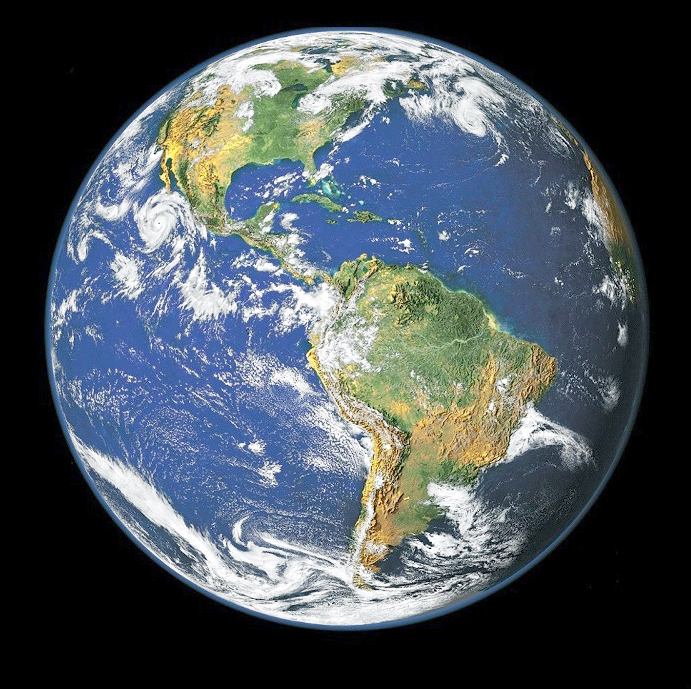
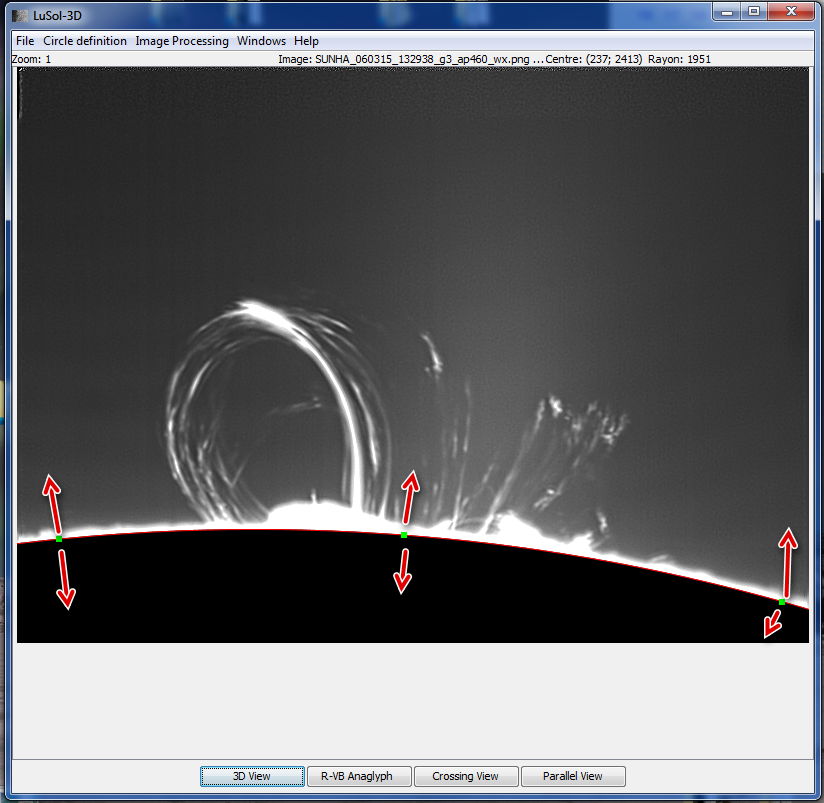
Now we work on adding the Earth at scale and the black Corona mode ...

After 'Traitement du lot' is done... A quick screen capture of the results ...
Now we format the names in TC
as done before and open in VirtualDub.
For this prominence, to read better, we will make a 90° ACW rotation (Video
/ Add filters / rotation)
and finally export to GIF or save to AVI ...