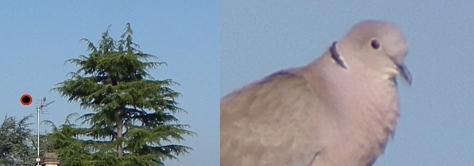
Left picture at 24mm, right picture at 720mm, Registax5 processed RAF file (Fuji RAW)*
* Note : that's what I believed a couple of month ago ! But it was only the embedded JPG ... see 20100811 update !
FUJI Finepix HS10 / HS11 Test Pictures
Last update 20110209 : Comparo RGB NIR at the market ... (last third of page)

Left picture at 24mm, right picture at 720mm,
Registax5 processed RAF file (Fuji RAW)*
* Note : that's what I believed a couple of month ago ! But it was only the
embedded JPG ... see 20100811 update !
also using all kind of accessories and filters (NIR, UV, 1.5x extender, Wide angle)
The bonus of this page is the possibility to study full size, uncropped, unprocessed*** JPG handheld*** pictures !
(*** except when posted).
*************************************************************
* Warning : All those pictures / movies are copyright 2010 Sylvain Weiller *
* and should not appear on any other place on Internet or anywhere else ! .*
*************************************************************
GREAT ! Decoding full size RAF (3664*2742 RAW) photos and not only the smaller (2048*1536) embedded JPG !
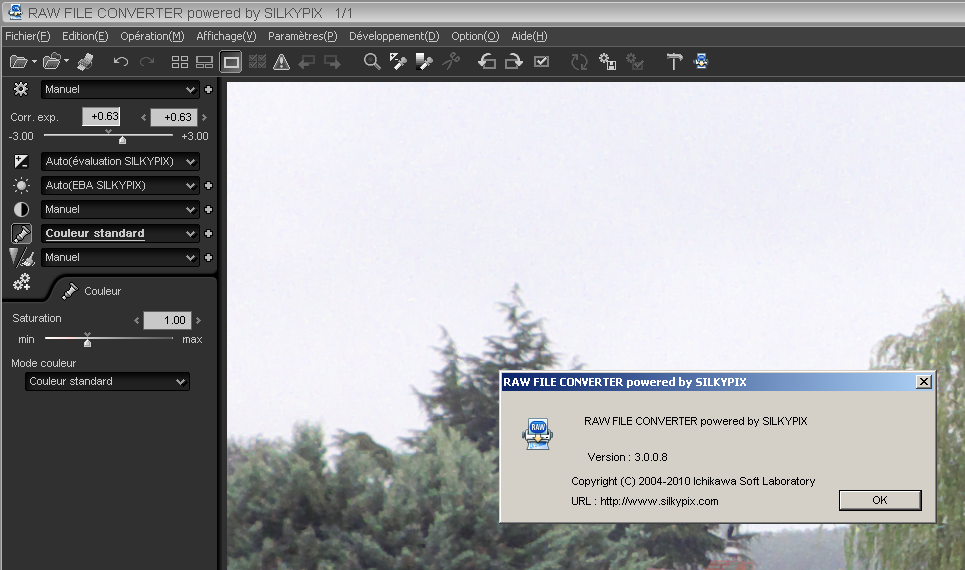
1. You can buy from Fujifilm e-store the "FinePixViewer FinePix Viewer Software" and install the "RAW File Converter Module"
2. RAW
FILE CONVERTER free or later (french, english, more ... versions on HS 10
camera CD) will open the .RAF photo :
Limitations : Seems to only read embedded JPG and
only saves as JPG (Development menu) ... and read here
3. For full high quality opening/saving control (PNG, TIF...) we can use DCRAW !
See in a Command window what the latest Dcraw says about the RAF photo :
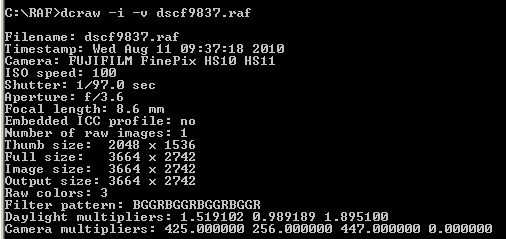
Source of DCRAW executable : http://www.cybercom.net/~dcoffin/dcraw/
Some calculations on the number of bits of the RAW image file :
Size of file shown by Windows XP : 15 915 200
3664*2742 = 10046688
10046688 * 12 / 8 = 15 070 032
10046688 * 13 / 8 = 16 325 868
... Probably we have a 12 bits RAW (Your opinion ?)
The best way to do it easily ...
If drive C is your Windows boot drive, unzip dcraw.zip into the directory C:\Documents
and settings\'your-name'
Copy all your RAF photos into this directory.
Open a command prompt.
Type 'cd dcraw' and ENTER
Now inside the dcraw direstory, the following command will convert the full size RAF photo and write a high quality TIF (-T) with camera white balance (-w) one in the same directory :
dcraw -w -T dscfnnnn.raf
where nnnn is your photo number. The original NRF must be in the same directory
!
Dcraw will type
ahd interpolate time = ....
You may convert another picture or quit at this time.
Note : typing only 'dcraw' will show the available parameters. E.g; dcraw -w -T -6 dscfnnnn.raf for a 16 bits result.
For astronomers : Link to a 15Mb RAF & 30Mo converted (8bits) TIF file of the night sky.
4. If you are specially interested in the RAF RAW data and don't care about colors :
Open the RAF picture with IRIS V>= 5.58 freeware to get the pure RAW B&W image you can then save in different formats.
Here are the results (look especially at TV antenna wires and foliage) ...
Best quality / size JPG (Crop from full image and saved in lossless PNG) :
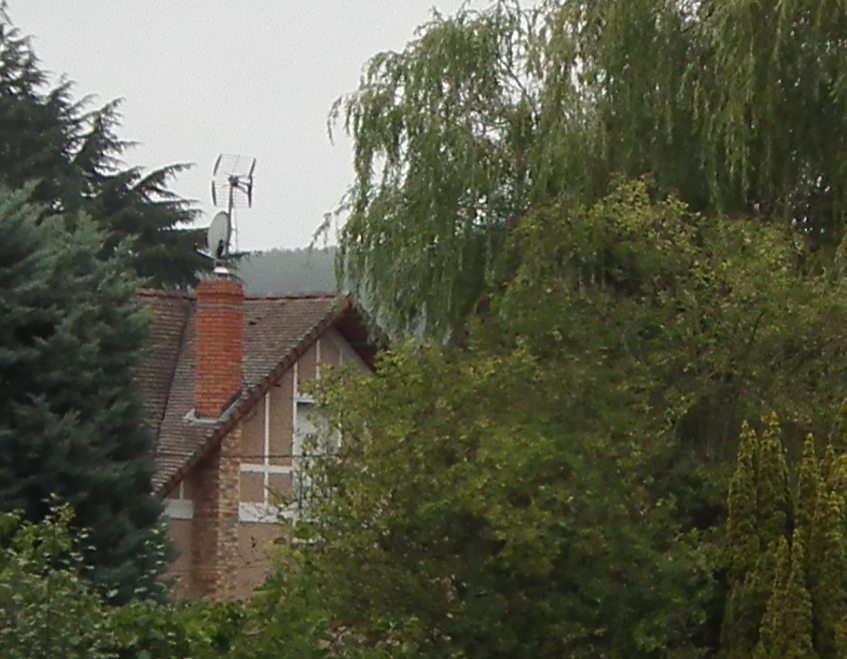
RAF (converted to TIF and cropped from full image) :
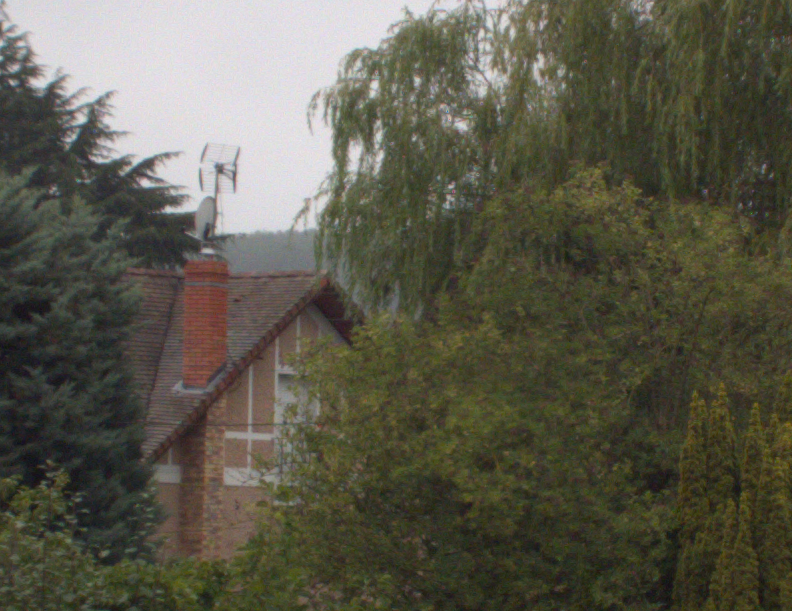
RAF (converted to TIF and cropped from full image + mild sharpen ) :
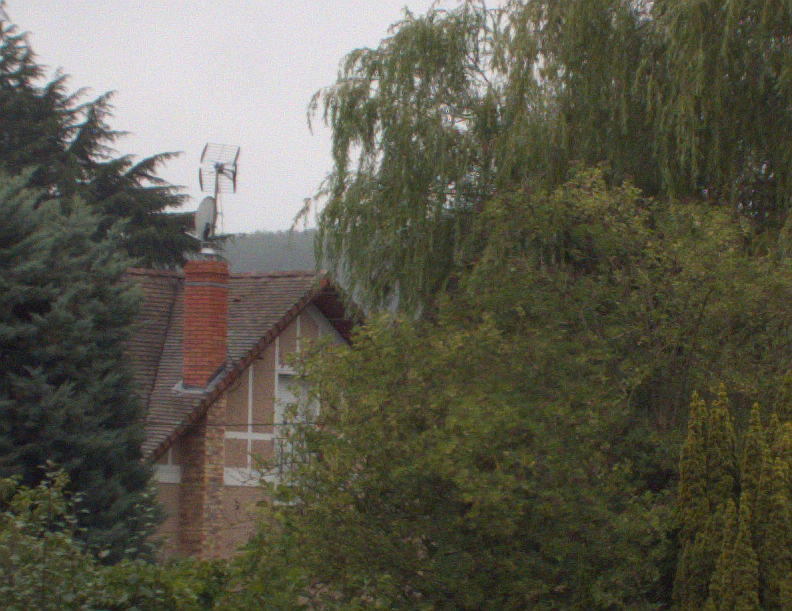
click on images for original pictures if available
...
A / STILL IMAGES
FAST PLANES
Filename - DSCF4008.JPG
Make - FUJIFILM
Model - FinePix HS10 HS11
Software - Digital Camera FinePix HS10 HS11 Ver1.03
ExposureTime - 1/640 seconds
FNumber - 6.40
ExposureProgram - Normal program
ISOSpeedRatings - 100
ExifVersion - 0220
CompressedBitsPerPixel - 4.00 (bits/pixel)
BrightnessValue - 9.60
ExposureBiasValue - 0.00
FocalLength - 4.20 mm
ExposureMode - Auto
White Balance - Auto
SceneCaptureType - Standard
Sharpness - Normal
Quality - FINE
Sharpness - Normal
Compression - 6 (JPG)
100% (3640 x 2730) if clicked ->  crop
100% (1250 x 870) if clicked ->
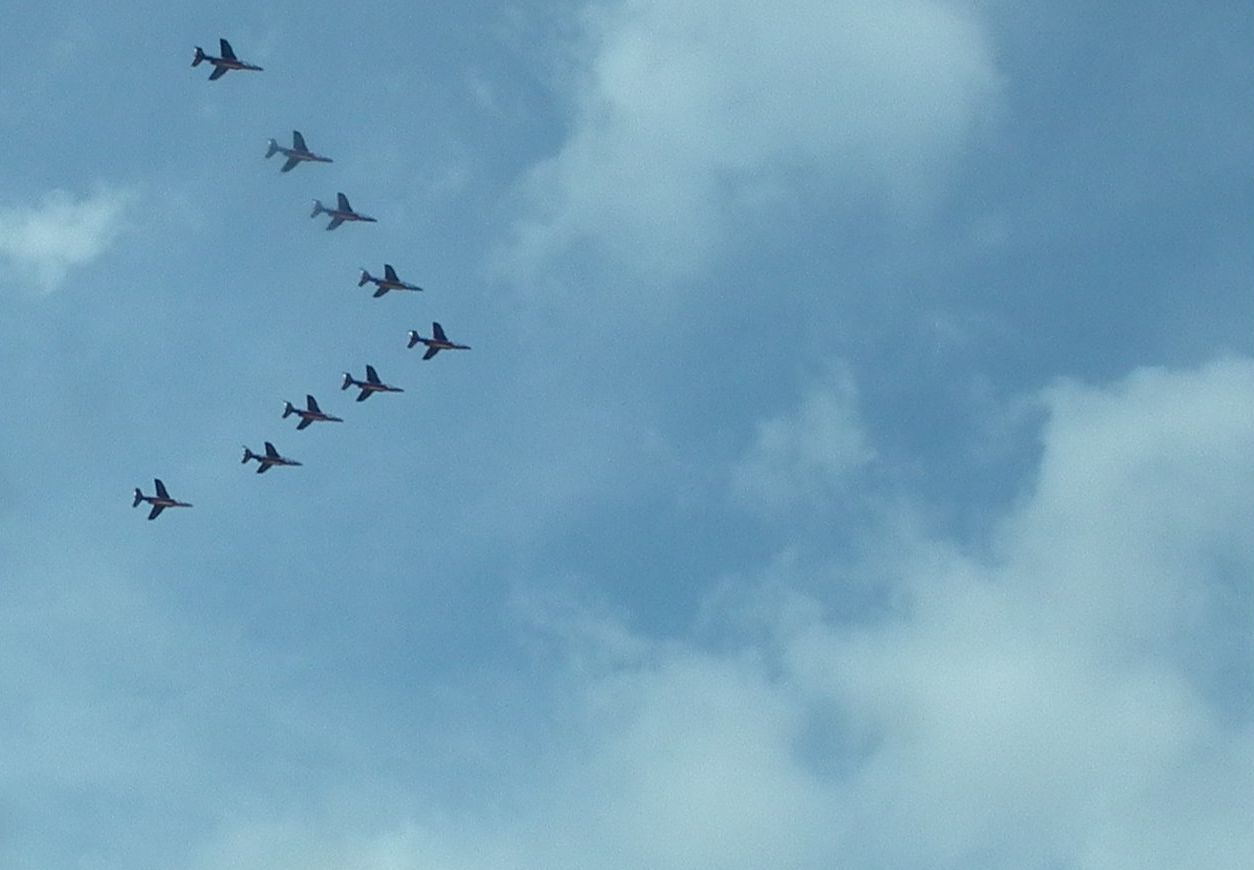
Examples of live animals (auto mode, see original exif for settings) :
1. Powerful Zoom :
Example a, (at about 20m) ...
24mm equiv. (See red rectangle subject of next picture) ...
720mm equiv. , plate # erased :) + full size crop on small text beautifully clear !
Example b)
24mm equiv. (See red rectangle subject of next picture) ...
720mm equiv.
24 and 720 mm ... Do you see the white dot in the center of the first image ?
2. Extended Zoom (with old Casio 43mm 1.5X Tele conversion lens... about 1000mm) :
.jpg)
Example a)
720mm equiv. no extender
720mm equiv. with extender 1.5
Example b)
50mm (note ... not taken at 24mm as usual !)
720mm
~ 1000mm
Other Examples only with 1.5X extender ...
Below same image denoised + histogram stretching with Registax 5.1.9.2 ... click here to see how to do it ...
3. Auto digital Zoom :
At full zoom (DR=400%)
4. Super Macro Mode
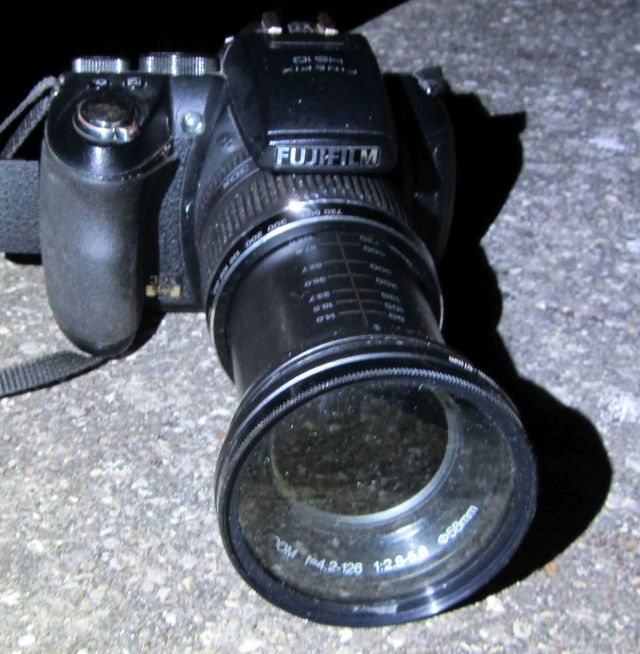
4bis. Hyper Macro Mode with
achromatic additional lens (Nikon close up N° 6T, 1.5x, diam. 62mm,
will need 58-62 Step-up filter ring). Note : just test picture, handheld camera,
one shot !
Distance about 40cm, at full 720mm zoom, macro position set, rather dark overcast.
Ladybee in Auto mode (at FD 5.6 1/400s 800 ISO),
bee in Auto mode (at FD 5.6 1/500s
400 ISO),
fly in manual mode at FD 11 (max available value, 1/160s 200 ISO).
Note : original picture was dark as seen in thumbnail below but very easy to
process* as taken in NEF RAW file mode too).
* Remainder ... Command in DOS prompt window after installation: dcraw -w -T -6 dscfnnnn.raf gives a new TIFF files. Registax is nice for colors, stretching histogram, ...
Other possibility : Bonnette +4 diam 67 will need 67-62 + 62-58 Step-down filter ring, lens at ~15 cm of subject
Result in 3D macro with this simple added lens at full zoom (click for original size) on a very small lavender flower :
5. Macro and 3D in 2 steps :
6. Wide angle
a. Original 24mm
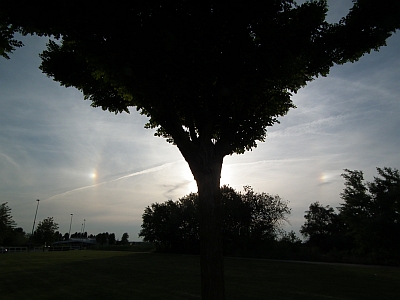 Parhelies at 22° on each side of the Sun
b. (BOWER Titanium 0.38X AF for 37mm camcorders)
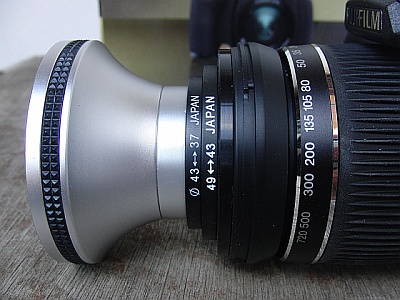
7. Near Infrared (NIR) photography, best filter around 695 nm as B+W 092 (I have tried also 830 and 950 nm => too dark)
The pictures below show that putting an NIR filter in front of the camera gives a better IR image than taking only the red layer from the RGB image...
The picture below is a composite of many taken at the market. You can see strange visual differences on some dark vegetables beetwen visual and NIR.
Also the last image shows the distant forest with much more details ... (Click on image for a larger composite at 20% size)
Fonded at the begining of the XIIth century, the "Abbaye des Vaux de Cernay" was very prosperous until the XVth century. In 1792, it was sold to a general who blowed a good part of the buildings with explosives. It stayed as a ruin until the end of the XIXth century when it has been bought by the Baronne Of Rothschild who started the restaurations. It is so deep in the forest I am not sure you will find it in the first picture !
Well look carefully at the center just above the bright tree ... you see a very dark spot. This is it !
The zoom of the Finepix HS 10 reveals it very clearly at max power (720mm) ! (Enhanced with Registax5)
Original image with WB personnalized on the grass with filter put on the lens !
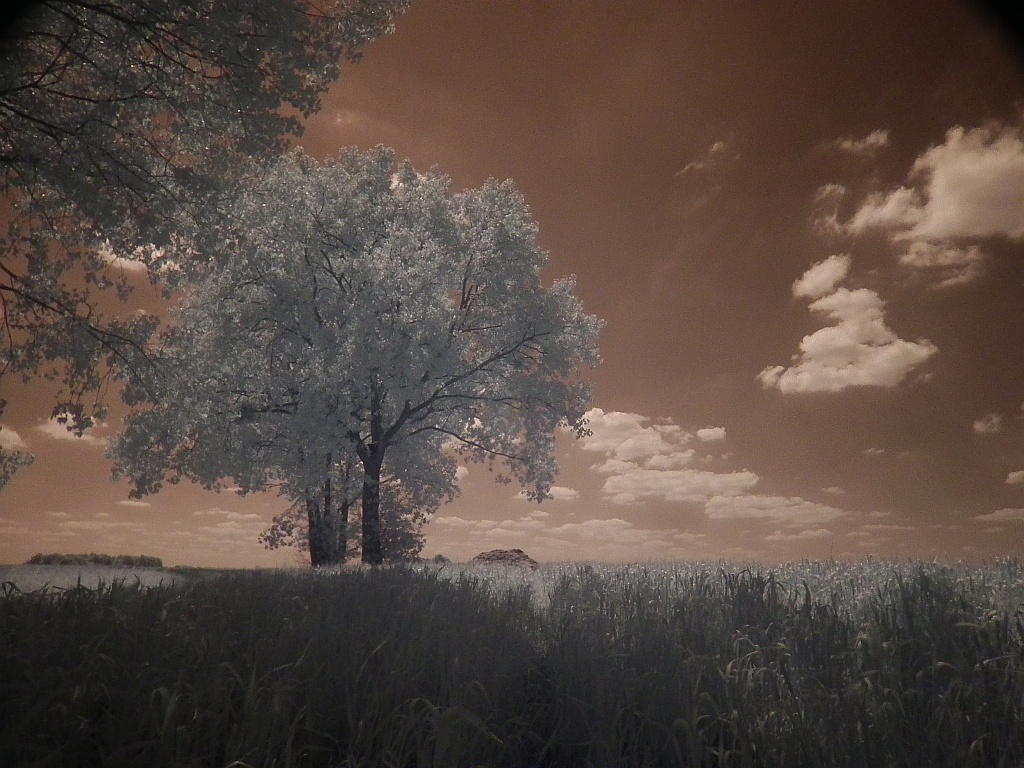
Simple processing with freeware Registax5 choosing Red/Blue
swap (in options of 1st menu page).
Note : noise suppression could be done easily at the same page.
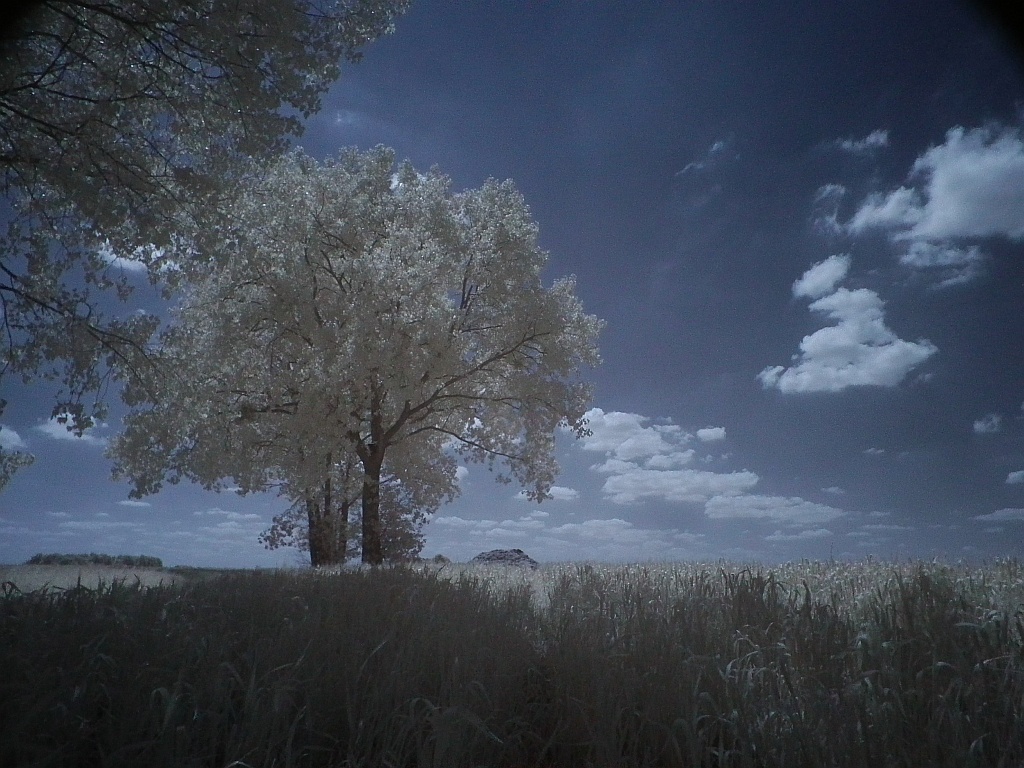
another version keeping only the blue as color ...
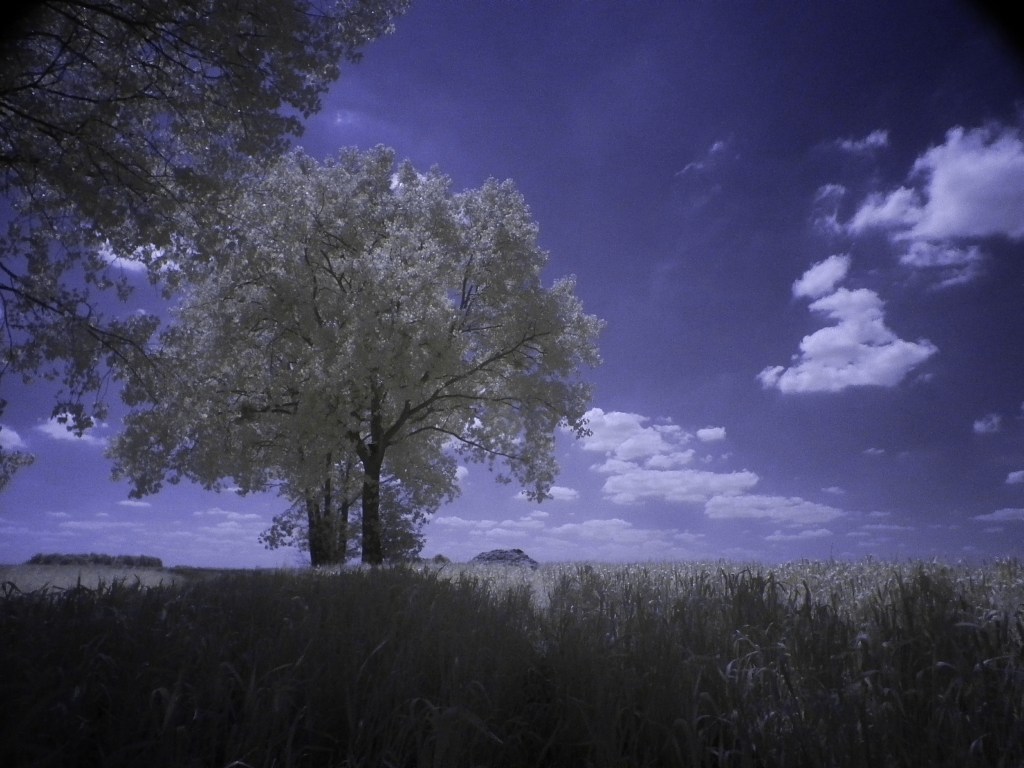
Flowers at 695 nm
Same flowers in daylight mode ...
8. Polarizing filter
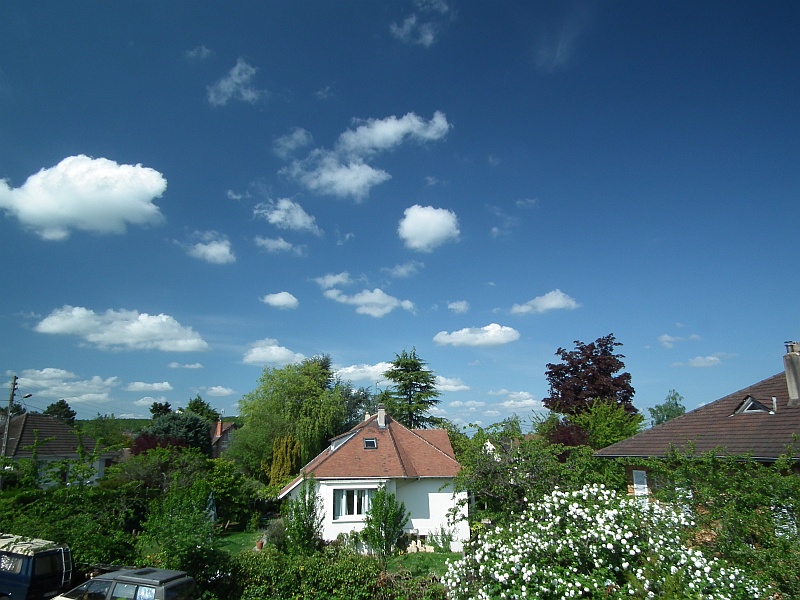
9. UV (?)
The camera is not completely blind with Astronomical
Schüler UV filter in full Sun light but switch to long exposure !
(Revision : it is mostly IR leaks...)
10. In the Astronomy field, with or without astronomical intruments ...
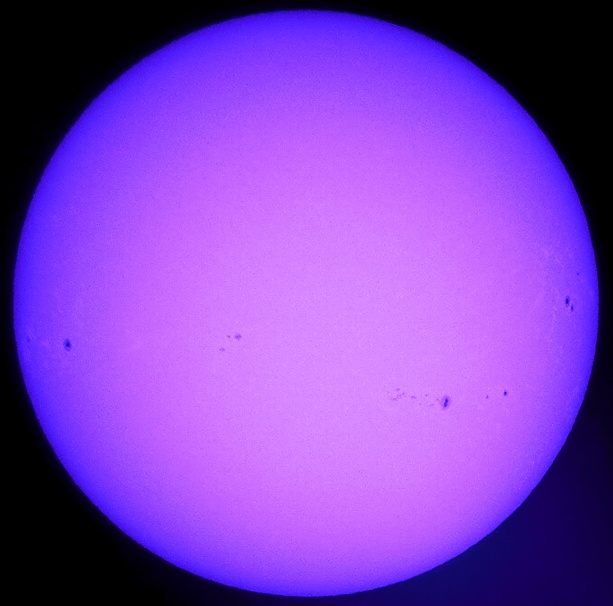
Quick assessement of the state of the Sun (with visual
solar filter !).
A RAF file was captured too.
Exposure time : 1/1200s F/D 5.6 ISO 800 Fl 720mm - Handheld against wall.
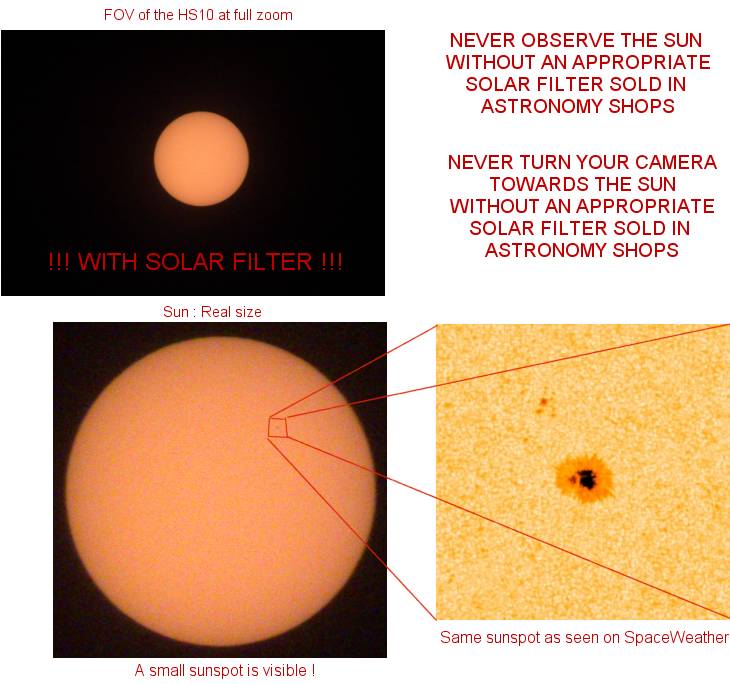
WARNING : The Sun picture below is taken with
the 1.5x extender and a special Visual Solar Filter !
Aiming the Sun without a special solar filter would destroy your camera sensor
!
(The electronic viewfinder of the Finepix would protect your eye which is in
that case much better than an optical finder
which at that magnification would instantly burn your eye and make you blind
forever !)
See larger Sun compared with the image above...
Moon at sunset (sky still clear). On astronomical equatorial mount. Those are 100% cropped images from RAF original (but saved as JPG)
1.5X extender (1080 mm focal length).
Hand held ISS passage, solar panels visible
Single image using Baader K-Line filter (see more in Solar K-Line page)
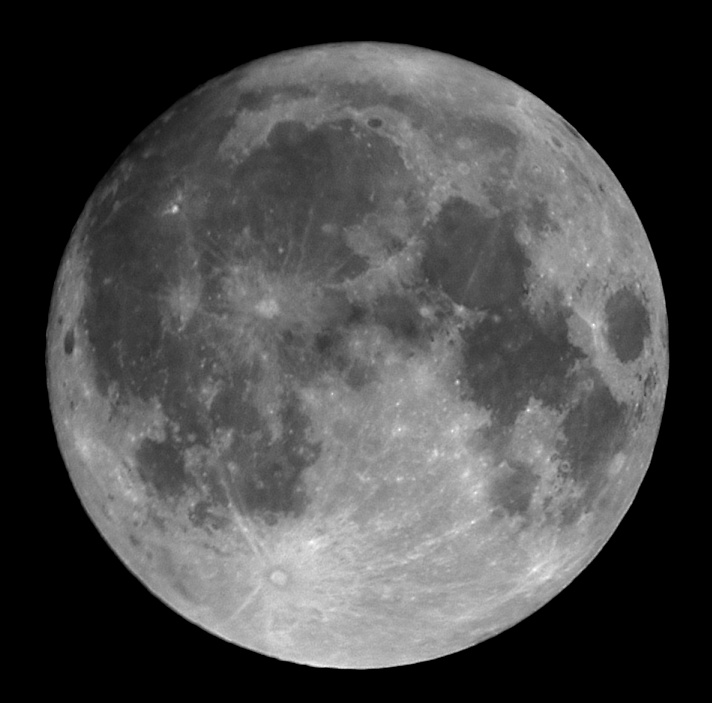
I was curious to see what quality I would get using a bridge camera and taking a few shots in about 1 min and then register them as we do for CCD cameras. The result seems interesting !
FujiFilm HS 10 on tripod, max zoom + 1.5 extender, FD8, IOS 100,1/400s. 7 JPG pictures derotated, combined and processed in RegiStax6.
later, without extender ...
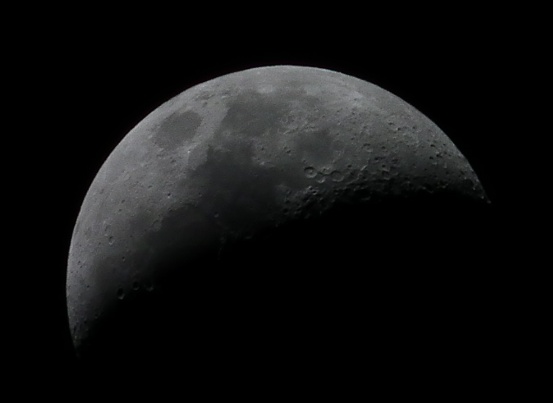
Moon craters, Afocal behind 100/900mm Fluorite refractor, 35mm eyepiece (aveerage seeing) :
Deep sky :
A curiosity of the Finepix HS10 is that even
in manual mode maximum exposure time is controled by the ISO setting !?
You can expose 30" at 100
ISO but then only 15" at 200, 8" at 400, 4" at 800, 2" at
1600, 1" at 3200, 1/2" at 6400 !
Use of the RAW (RAF) not much sensible to ISO, is highly recommanded
To appreciate the quality of the above
image, 2 links to a 30" / ISO 100 / FD 2.8 / 15Mb RAF
(Fuji RAW format)
& 30Mo converted (8bits) TIF file
of the summer night sky in the spanish Pyrenees under full moonlight.
On the right a new process (20160602) using
UFRAW to lighten, Wv denoise and RegiStax6 for bit sharpening and rotation.
Click on it for full size ...
The camera, set on a concrete pillar was previously
auto-focused (half press only mode) on Jupiter
at middle range of the zoom then immediately set on manual focus , the timer
was set at 10s.
B / MOVIES (download only...) :
Insect hi speed capture (442*332, 440 fps)