3D stereo pictures with W3 in normal (instant)
mode
(20130130 ... windy day with trees moving a
lot)
Now that I have got the two filter rings I
can install my two 830nm NIR filters on the wide
angle extensions !
Click on pictures to download and see the large 3D pictures in parallel mode...
or right-click to download.
Use the famous and free SPM (Stereophoto
Maker) software to change the kind of 3D
vision to suits your needs (Anaglyphs, cross-eyed, interlaced ...)
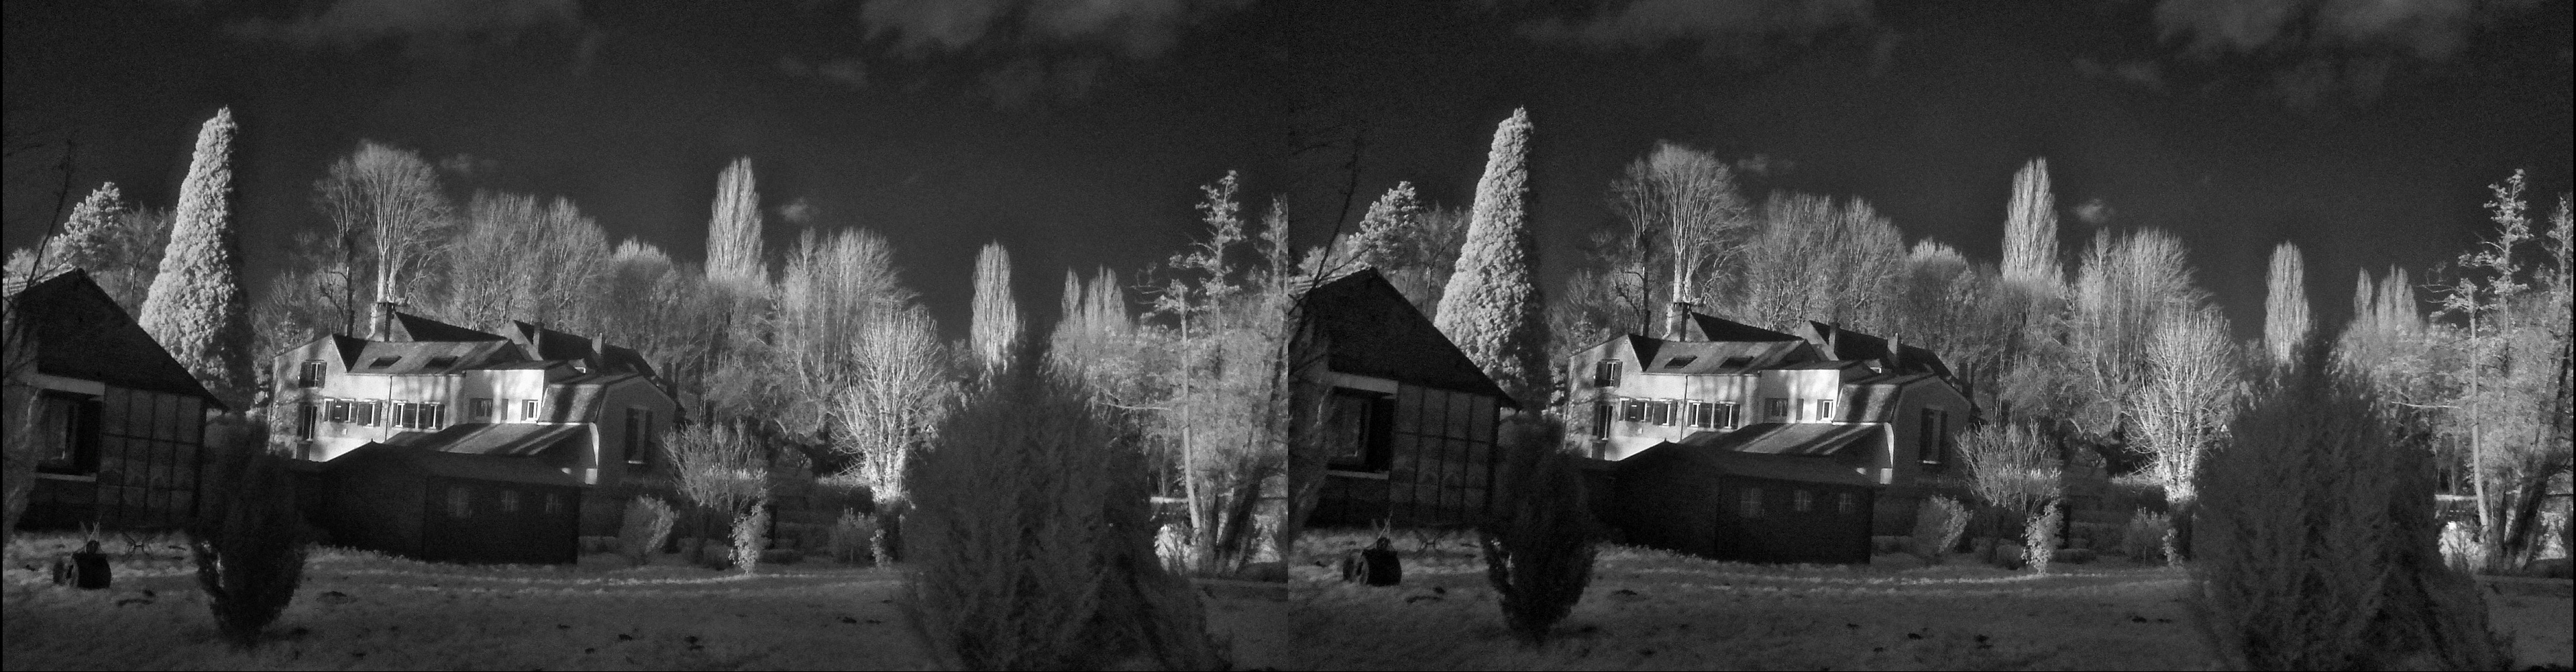
FujiFilm FinePix REAL 3D W3 + 0.38 Bower FL Reducer / Camera on top of a pole
Zoom ~1 step / Exposure
: 1/1.3s / F4 / ISO 200
/ FL 9.1 mm / sRGB / Changed to B&W

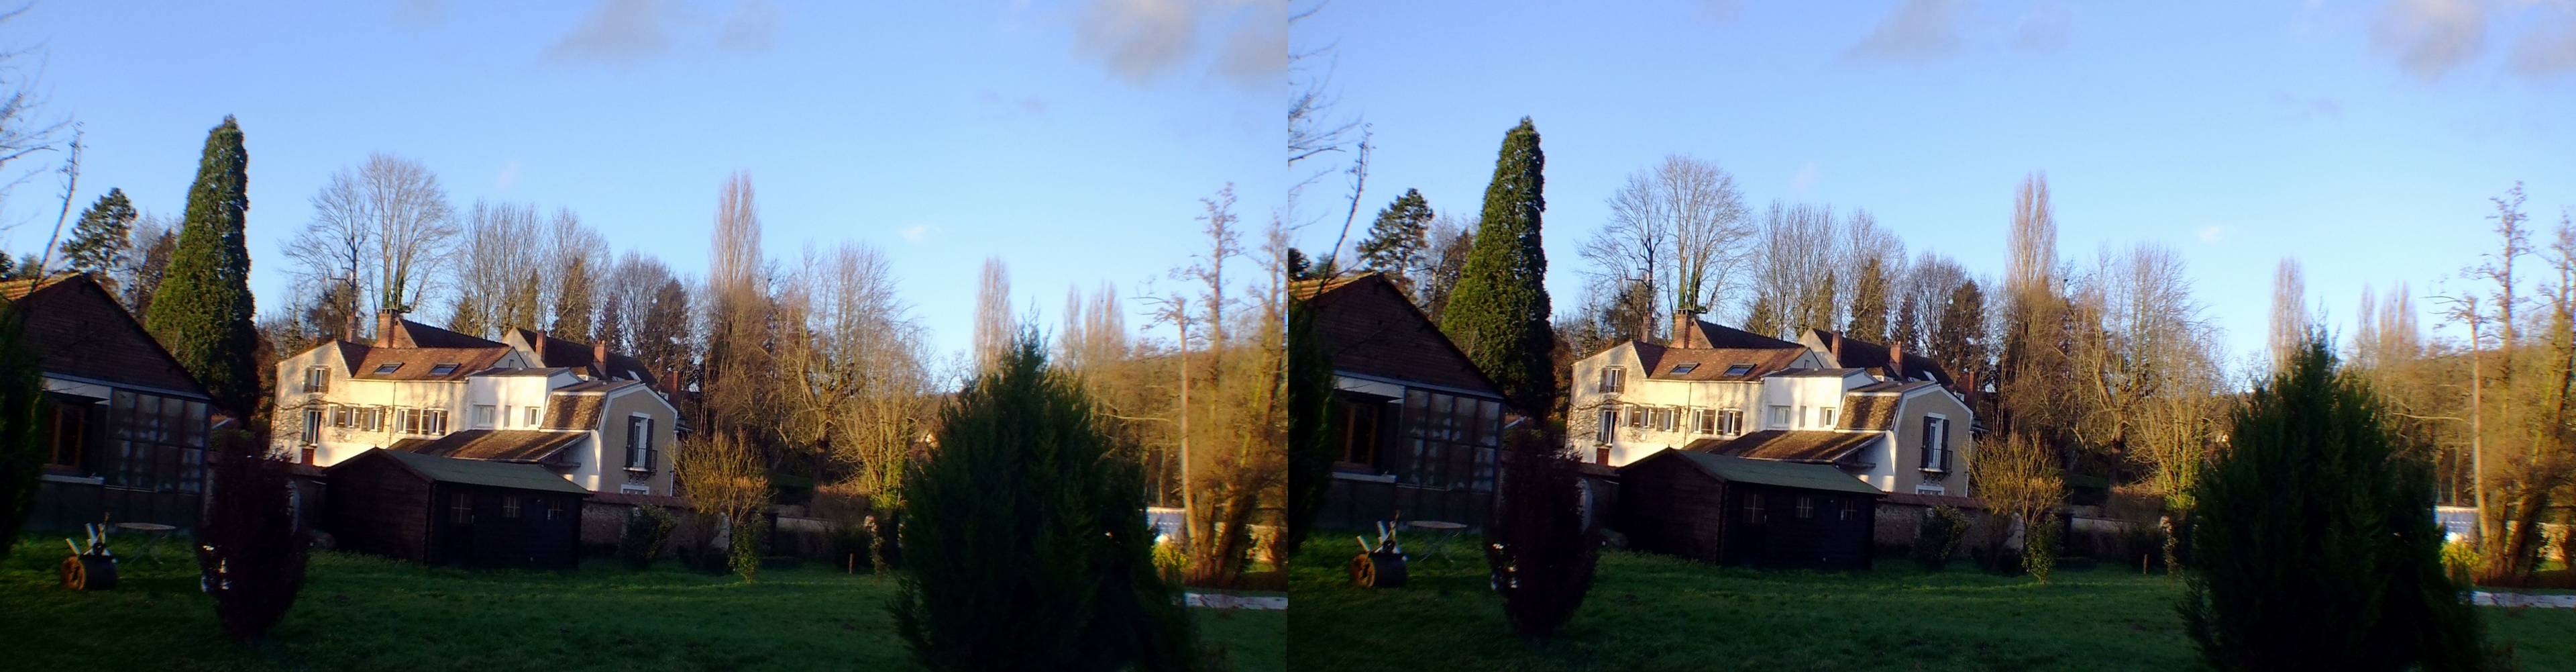
FujiFilm FinePix REAL 3D W3 + 0.38 Bower FL Reducer / Camera on top of a pole
Zoom ~1 step / Exposure
: 1/3.5s / F4 / ISO 200
/ FL 9.1 mm / sRGB / Changed to B&W
Pictures in .MPO format processed with SPM (window
alignment + use of Shift-K to kill saturation, result saved in .BMP),
then SimplyGoodPictures2 saved as .JPG, then final with SPM for resize to Full
HD size and saved in .JPG.
 Résolution
test in NIR : Right-click on image below to get full SBS HD (2x 1920*1036 pixel)
size !
Résolution
test in NIR : Right-click on image below to get full SBS HD (2x 1920*1036 pixel)
size !
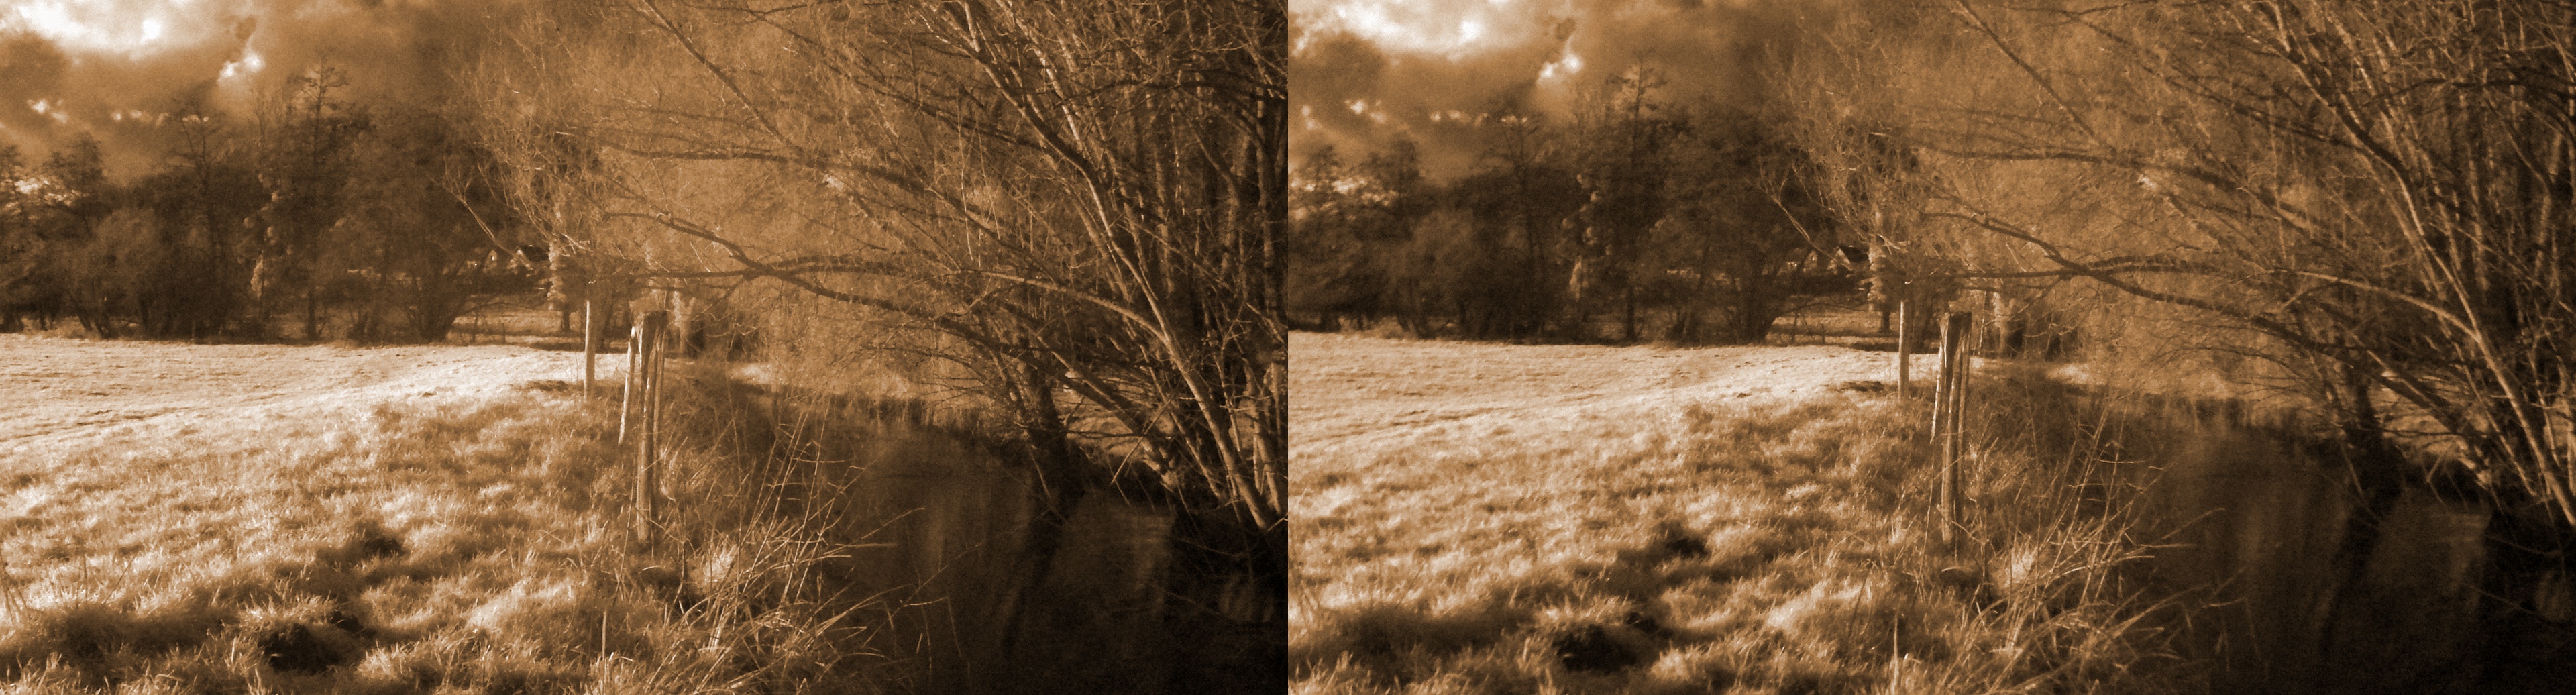
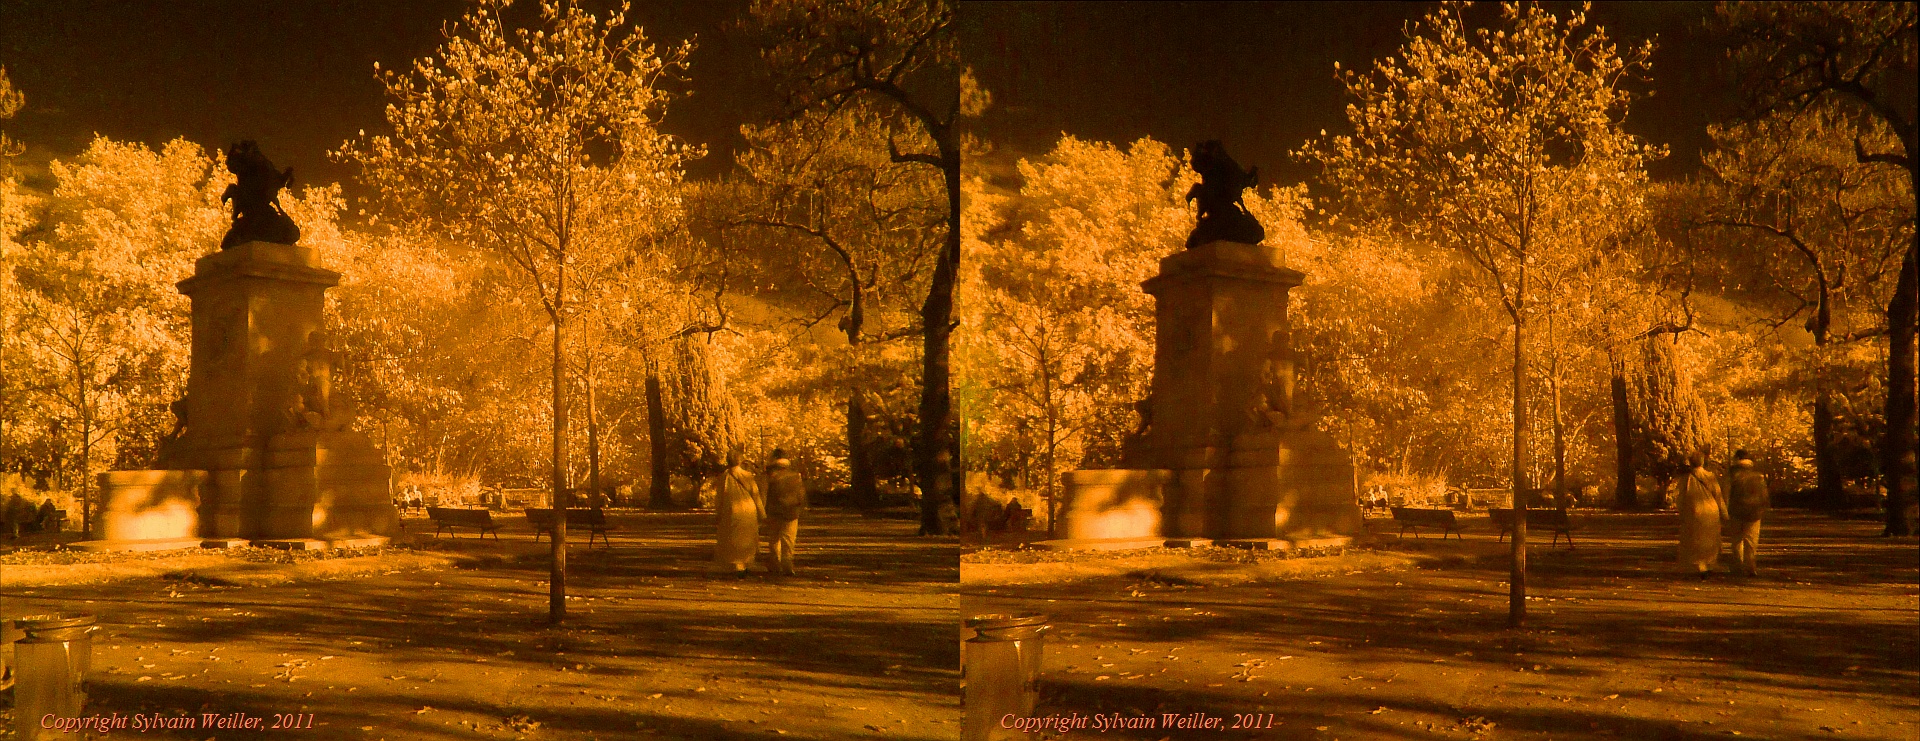
FujiFilm FinePix REAL 3D W3 + 0.38 Bower FL Reducer / Camera on top of a pole
Zoom ~1 step / Exposure
: 1/3s / F4 / ISO 200
/ FL 10.3 mm / sRGB / Changed to monochrome sepia in SPM
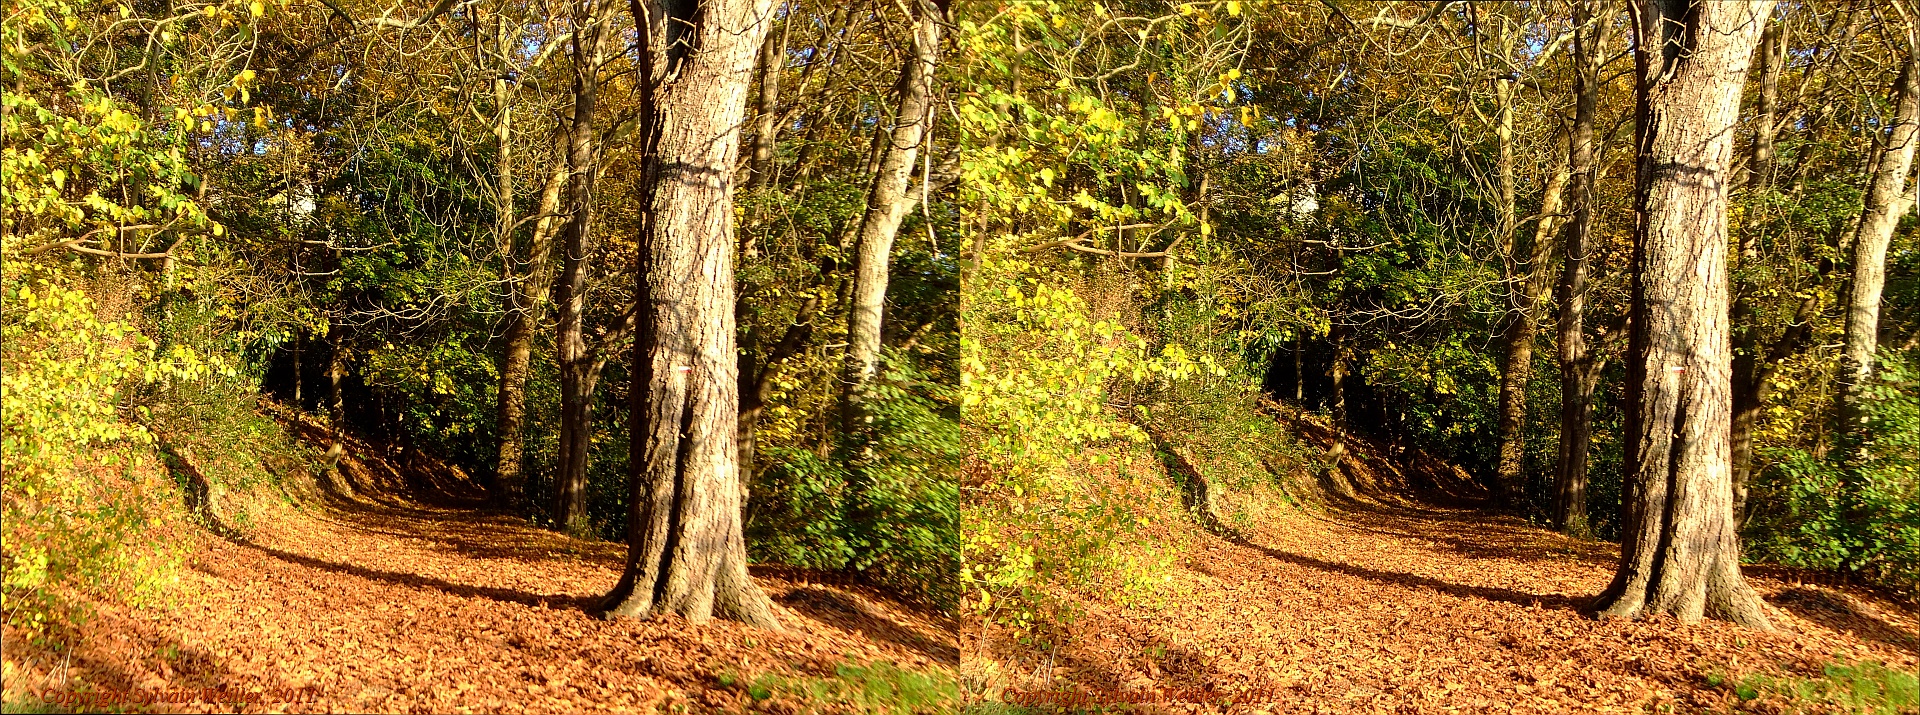
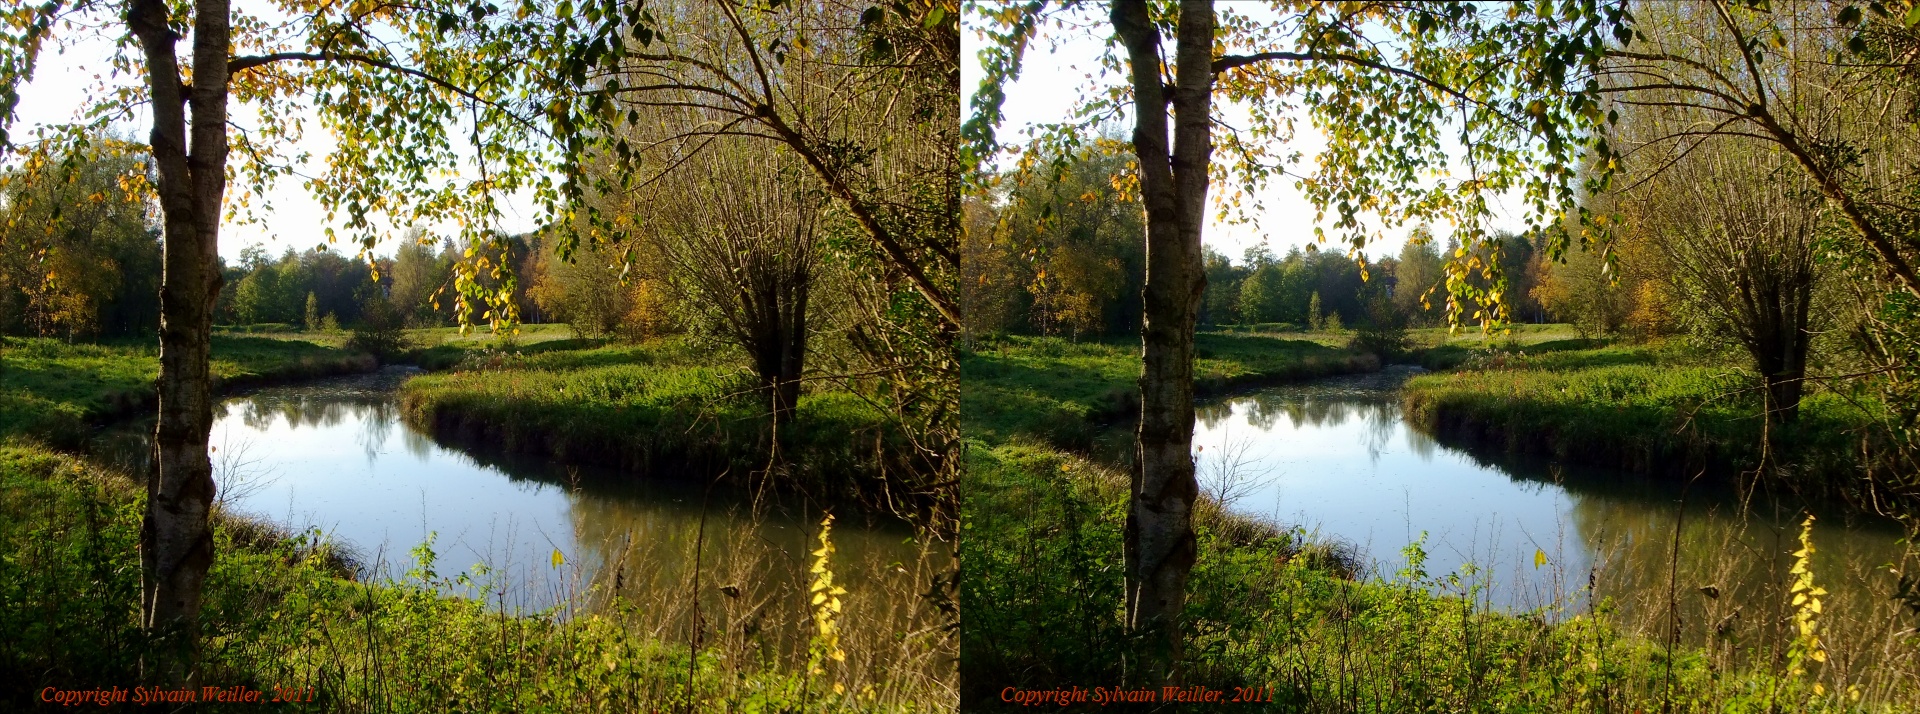
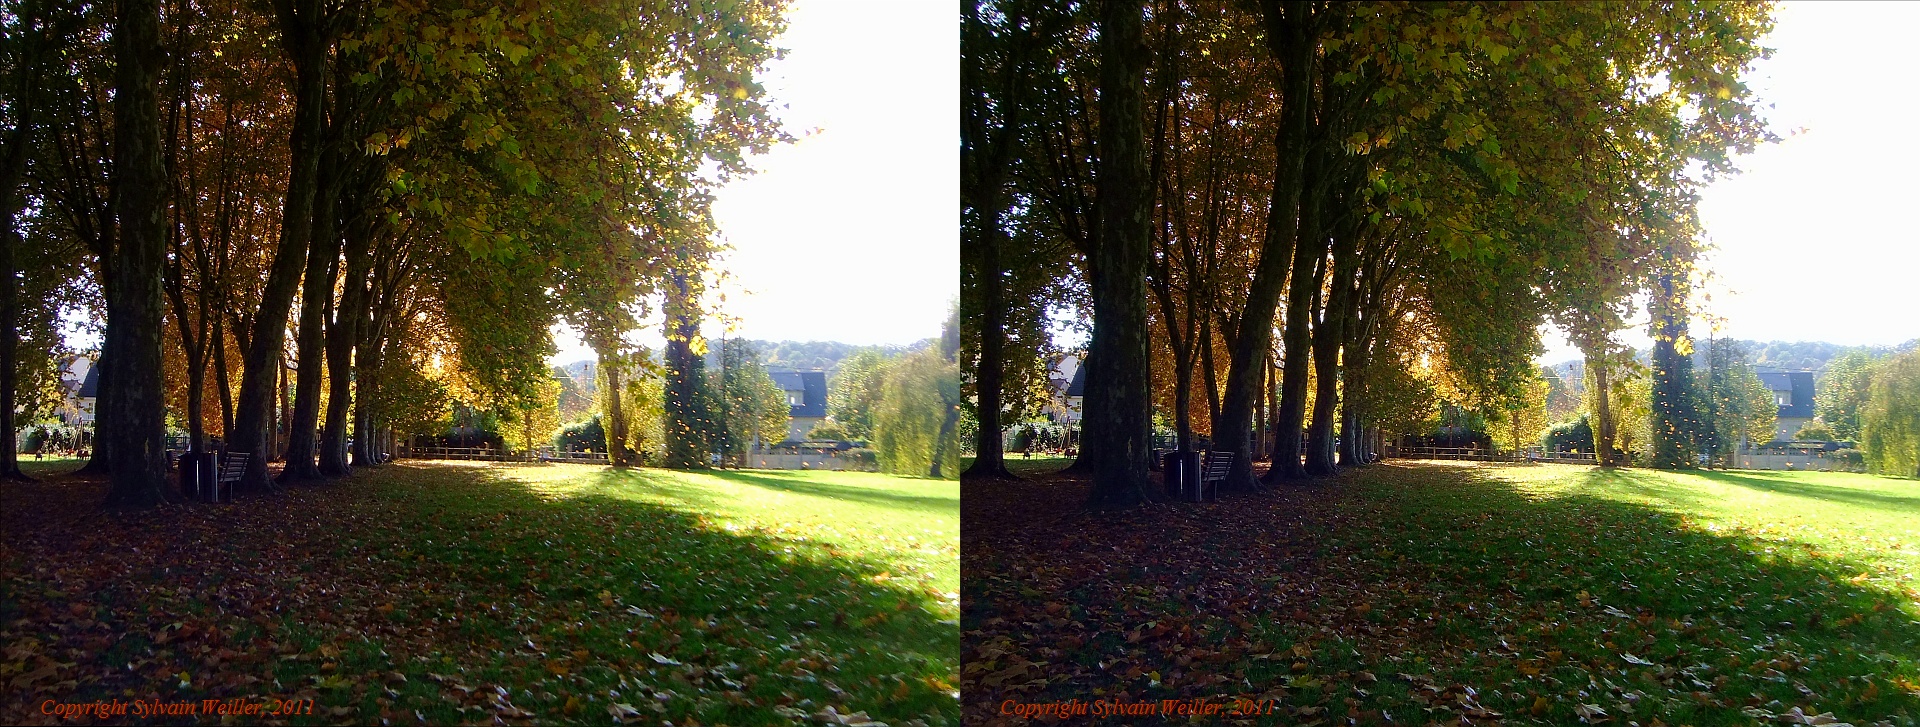
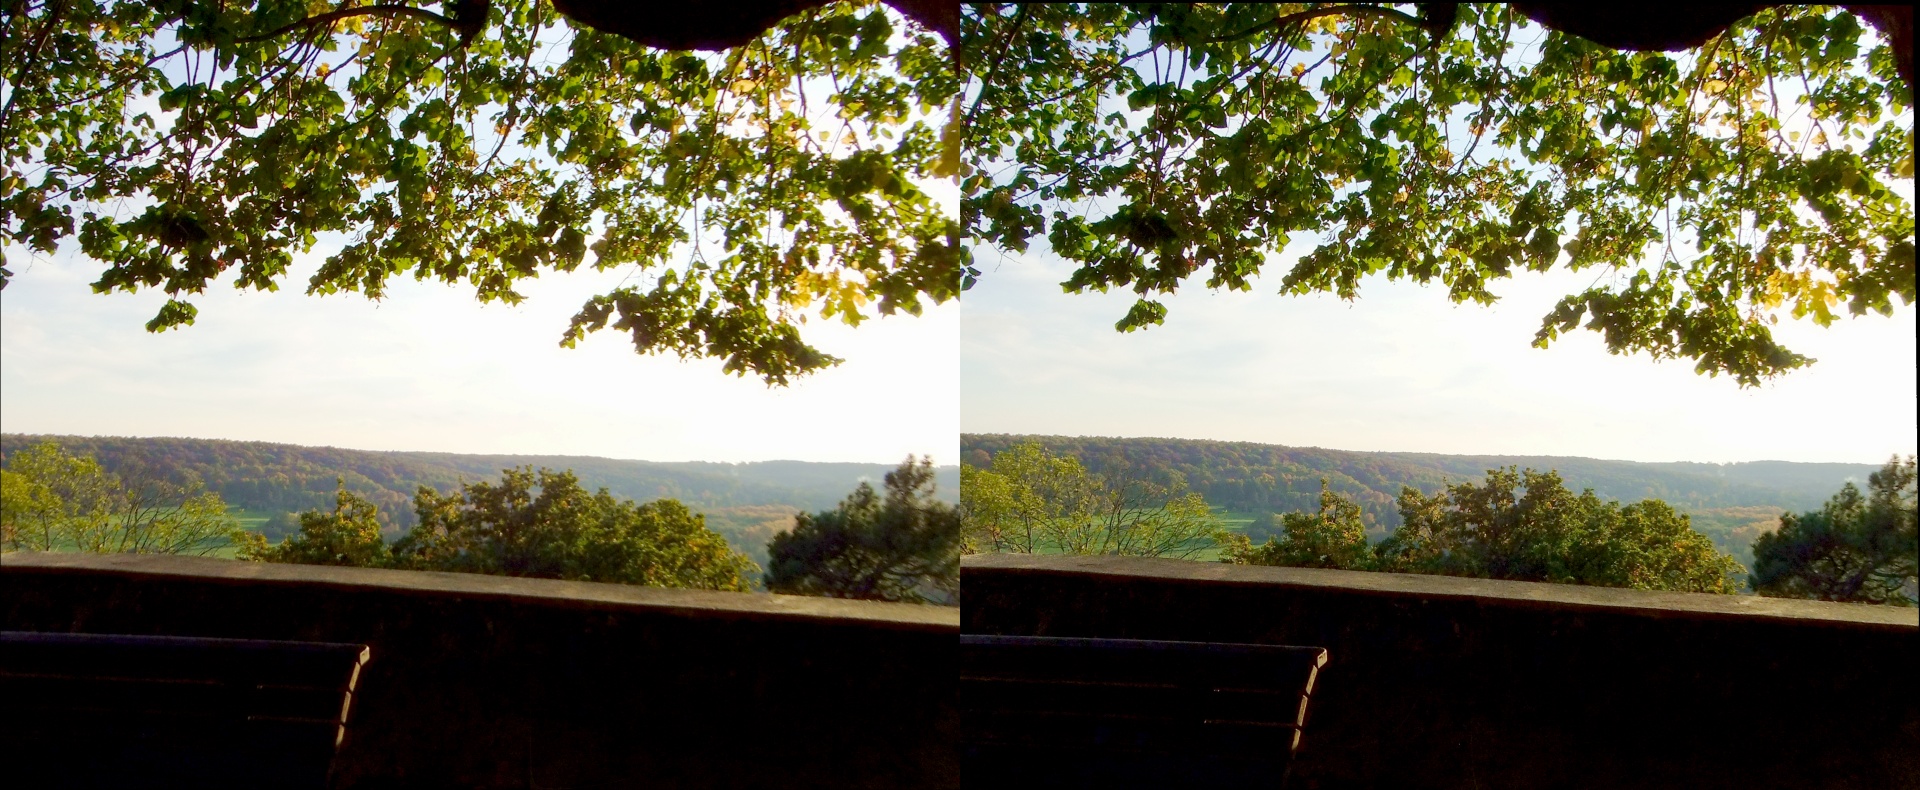
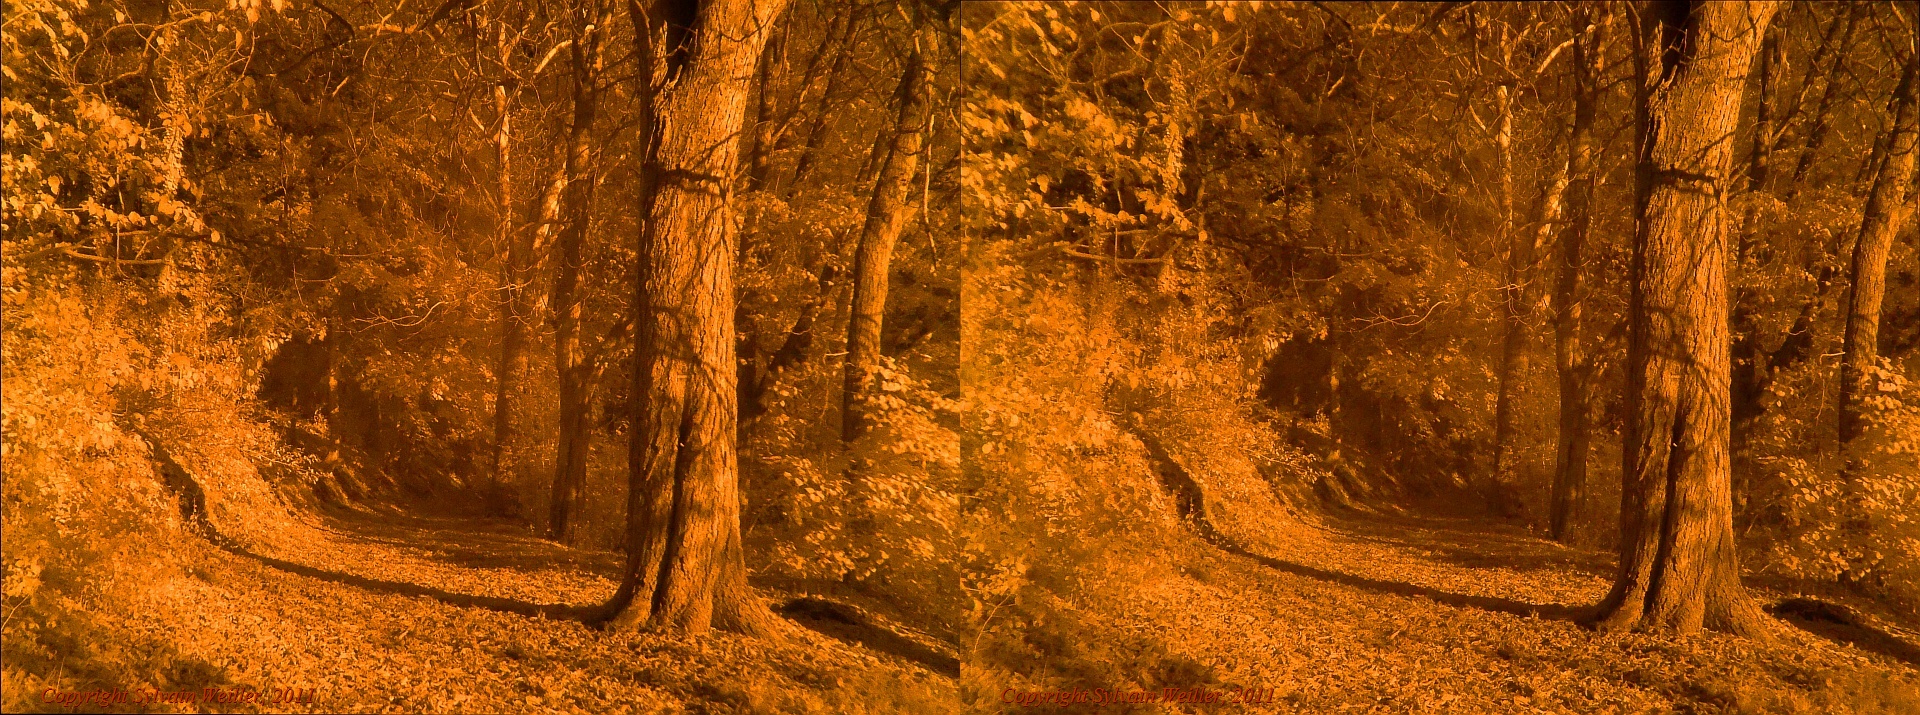
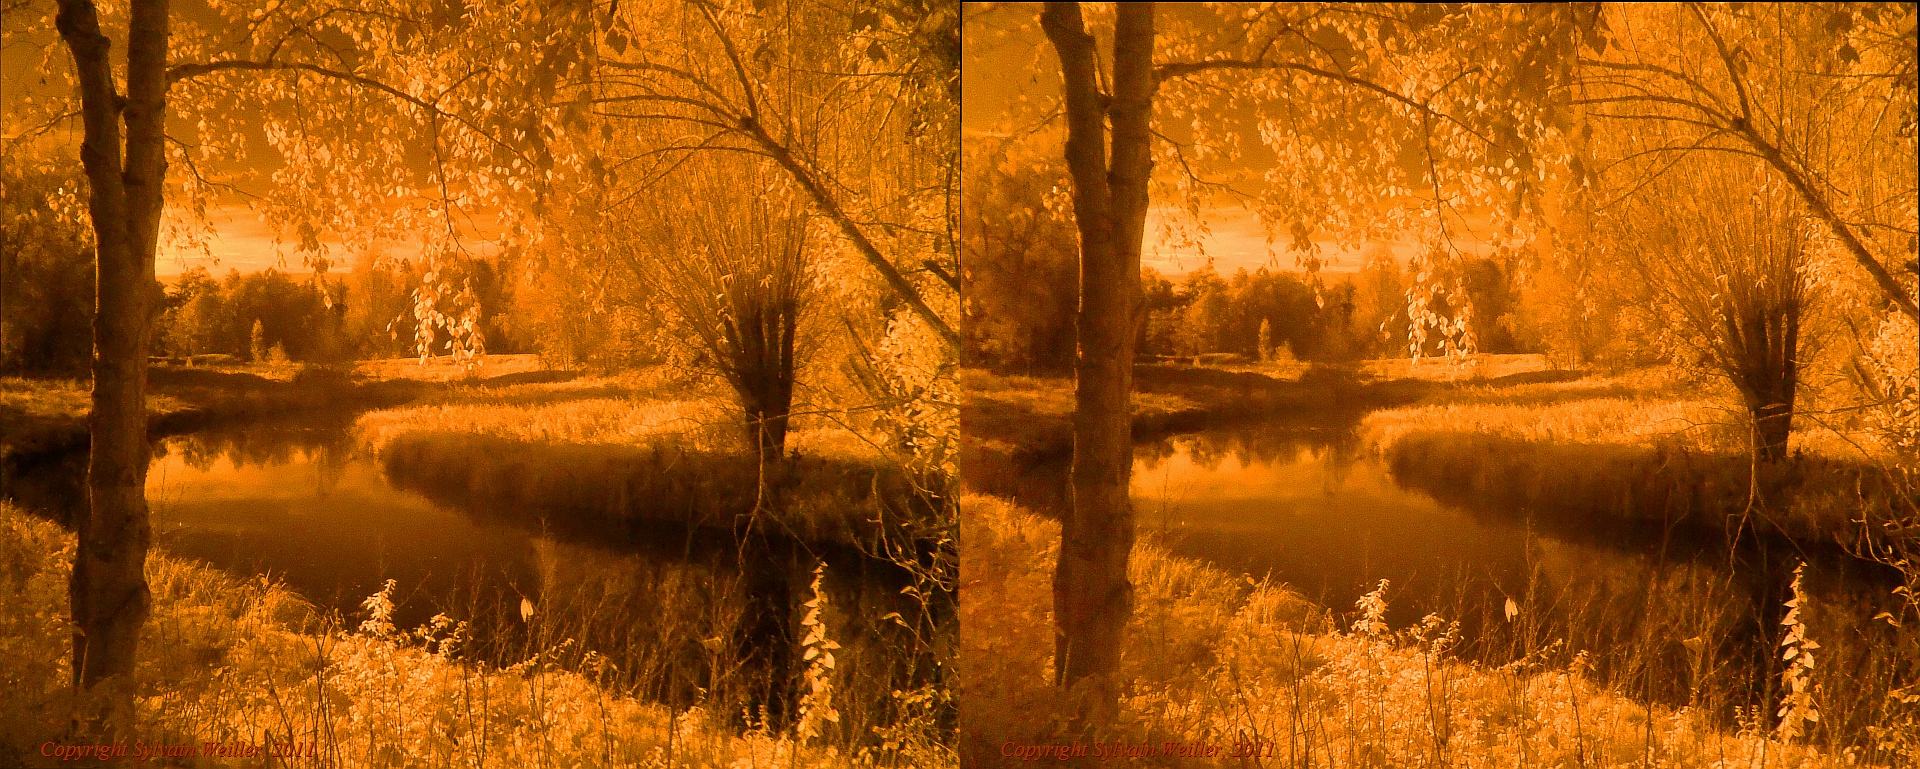
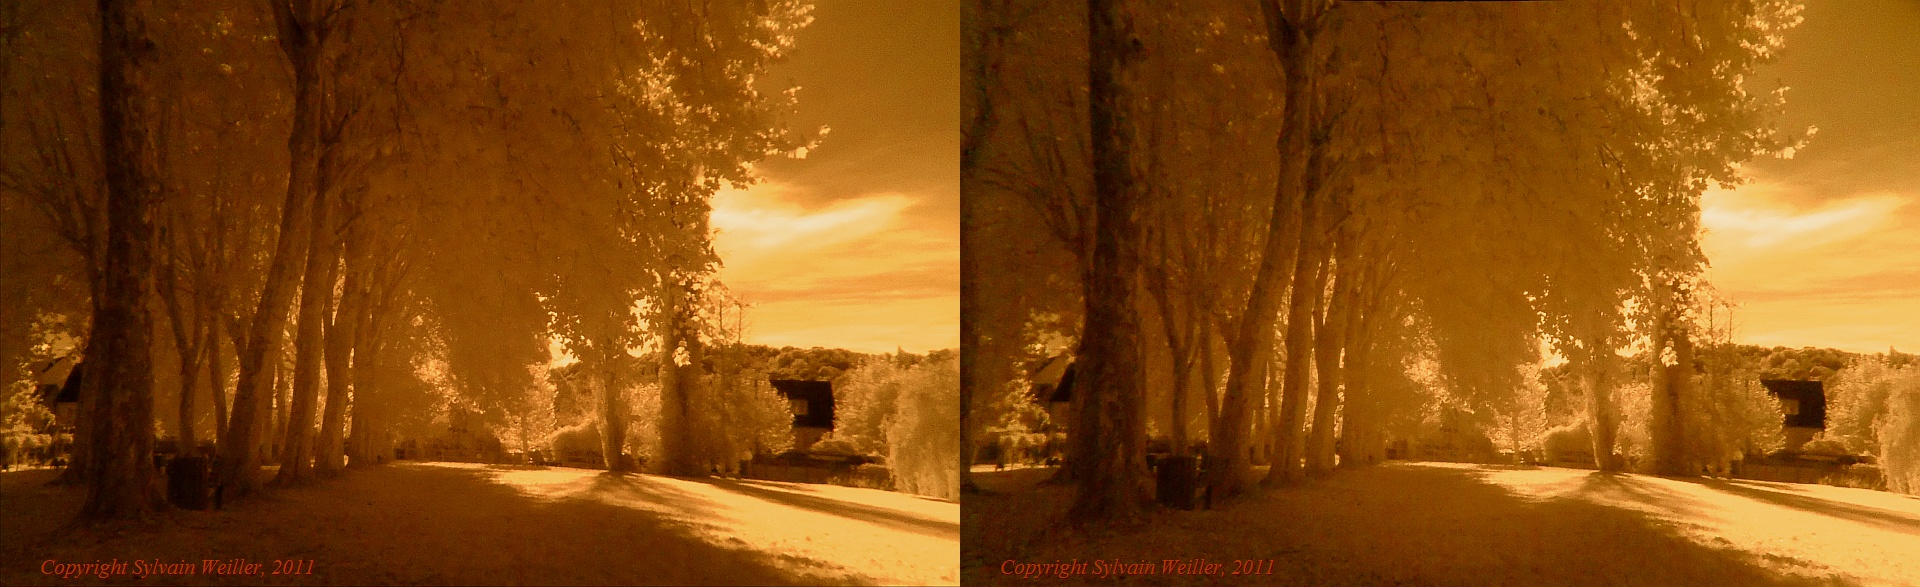
A selection of visible / NIR pictures taken along the Yvette river (Chevreuse, Yvelines, France)
All pictures processed with SPM (StereoPhotoMaker especially using the auto align and Shift-K function)
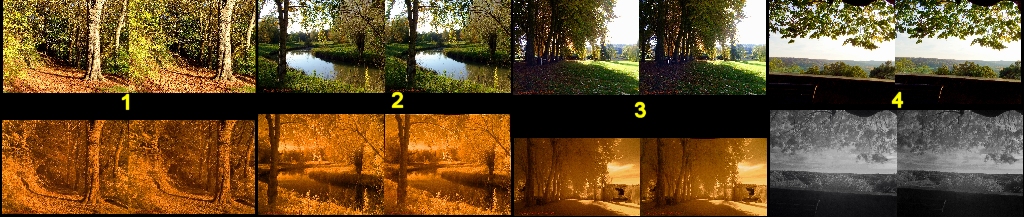
VISIBLE 1 2 3 4 NIR (830nm) 1 2 3 4
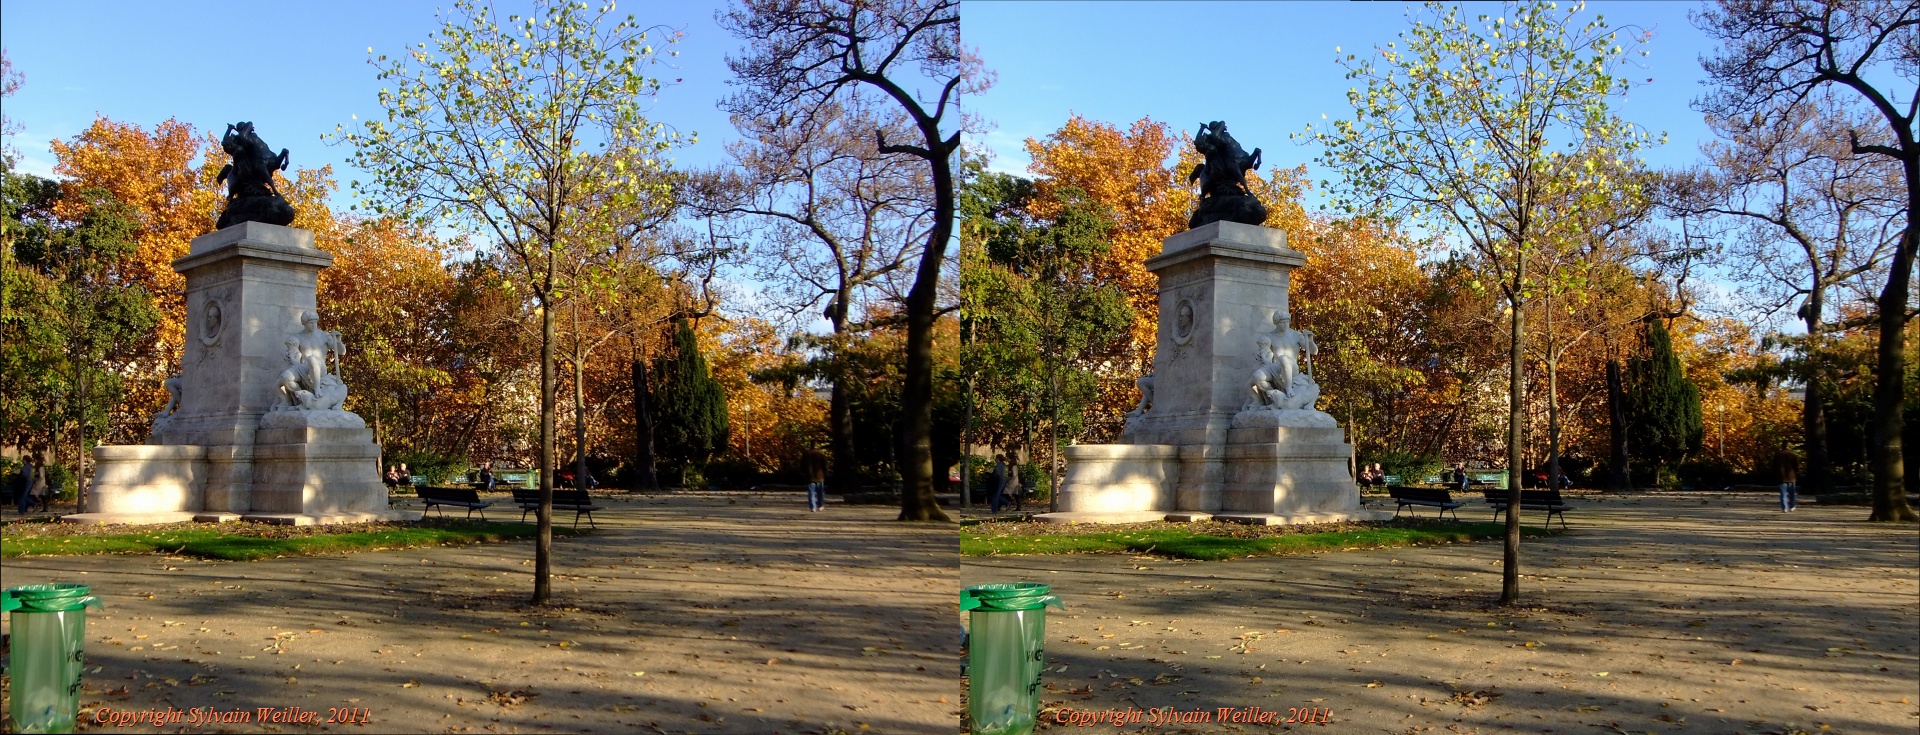
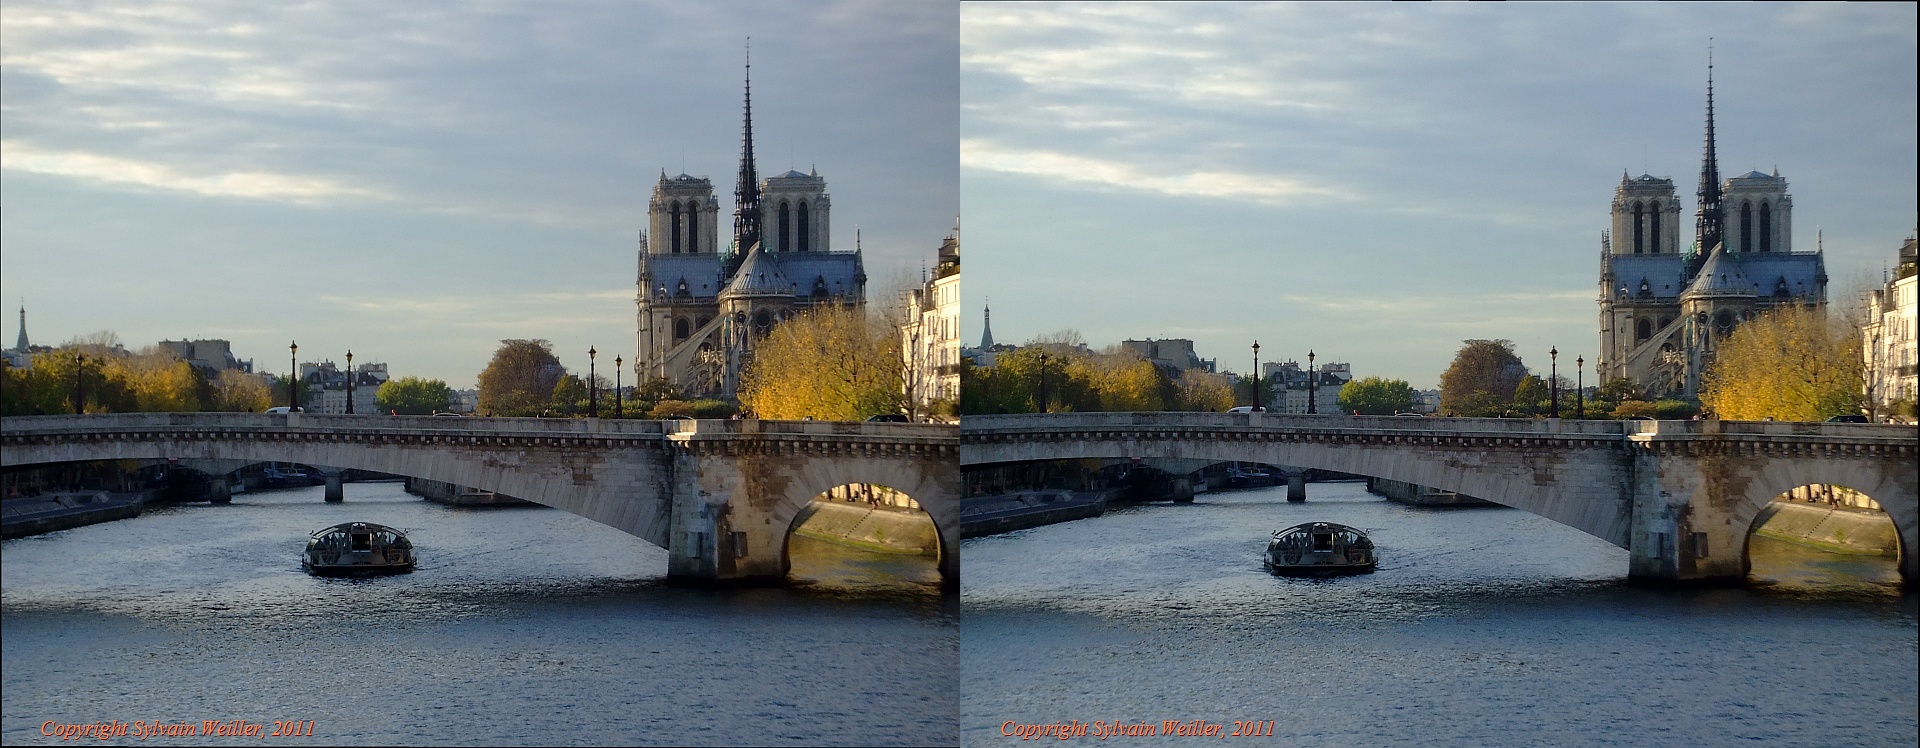
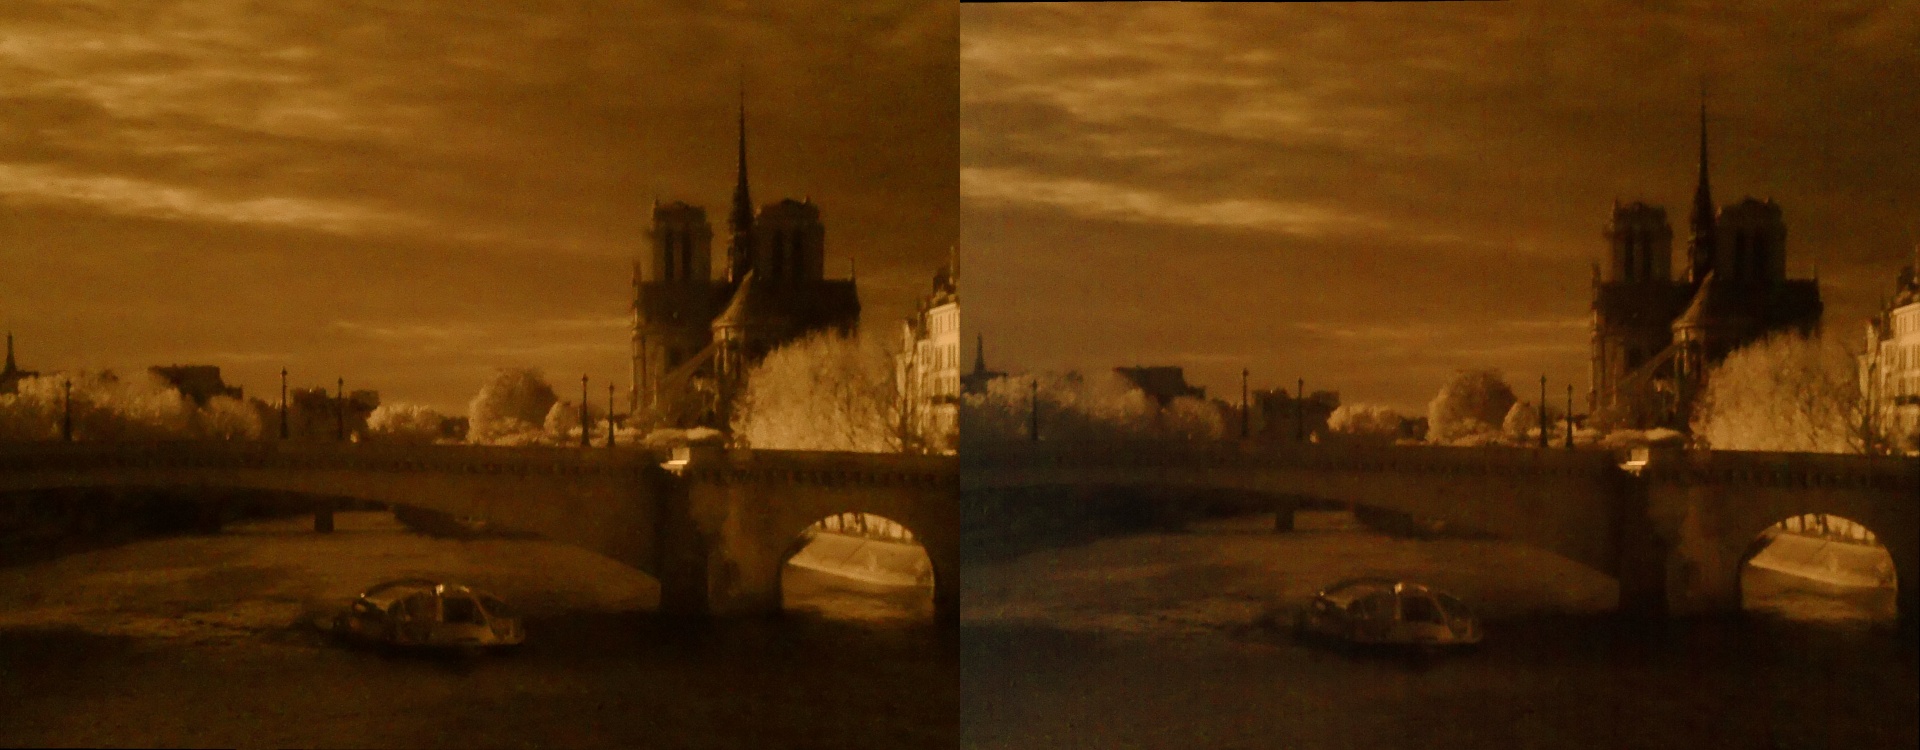
A selection of visible / NIR pictures taken along the Seine in Paris
All pictures processed with SPM (StereoPhotoMaker especially using the auto align and Shift-K function)

How to ...
Items needed :
- unmoded Fuji W3 (+ one or two spare batteries !)
- a set of 2 near IR filters (of course only one if you are doing 2D !)
I have in stock 695 nm, 720 nm, 830 nm, 950nm & 1000nm... here I used the
830nm = B+W 093 = RG830 after some trials in the garden
- some sort of mount for the camera (here I used an ersatz of Gorillapod fixed
on the center of the handle bar of my bicycle) as exposures will be up to 1/2s.
Procedure :
- You need a nice sunny day to operate (lots of
IR to be reflected !)
- For each picture, set the W3 in the shade of a tree or a wall or even yourself
to avoid stray light ...
- Set the W3 in auto mode. Frame your picture. Take the visible shot.
- Set the delayed shutter (10s). Put one of the filter over & against the
left lens. Press half way then fully the shutter button without waiting camera
confirmation of good focus.
- You have now a few seconds to place the 2 NIR filters over & all but against
the left and right lenses and wait for the picture to be taken.
- Check if the result is Ok (no bad light reflexions)
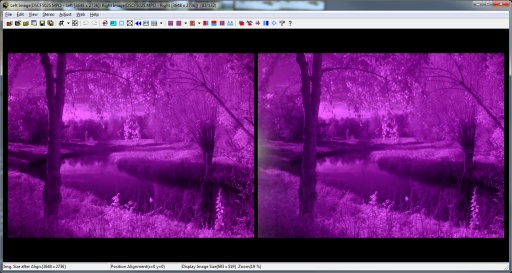
Processing :
- 3D .MPO pictures will be processed in SPM (Stereophotomaker) as usual (2D
pictures can be simply processed with Irfanview).
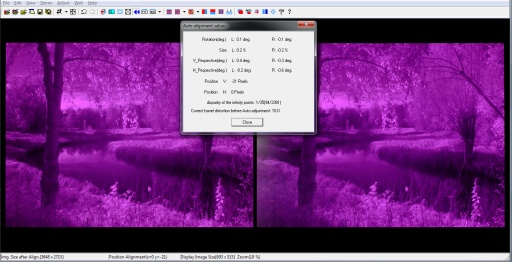
- Open the .MPO and select the "Auto" button to align the frames then
"Close"
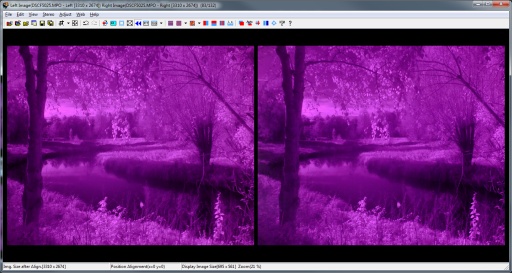
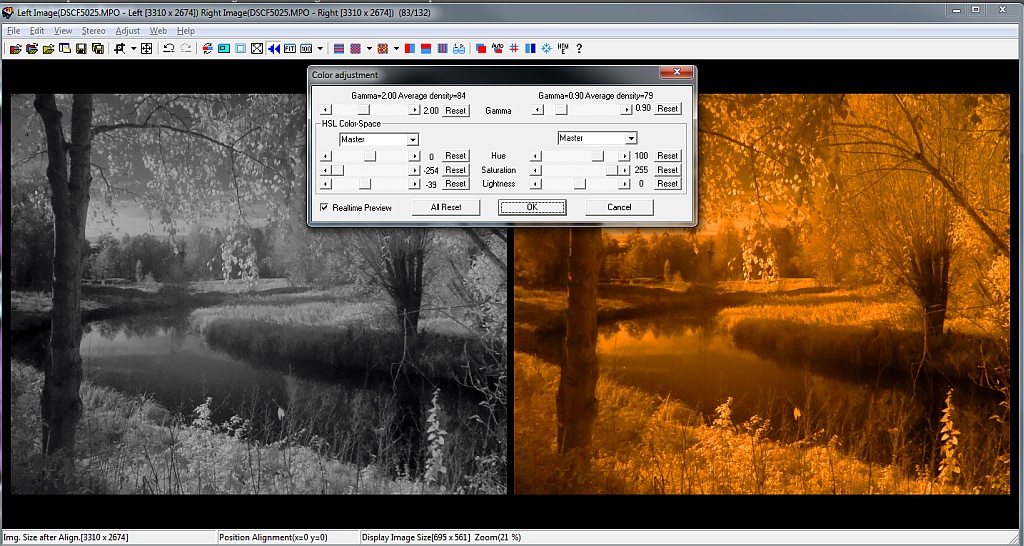
- reframe in order to eliminate parts with some stray light if present (here
left of right frame) then press Shift-K to bring up the color menu and check
"real time preview")
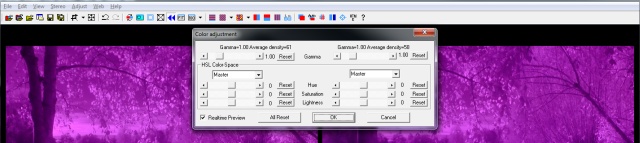
- adjust the values of Hue, Saturation and Gamma at will
... Here I have chosen different settings for right and left frames for didactic
purpose but in the real work you would chose one or the other
so that both frames look identical in color and luminosity.
- you just have now to resize then sharpen ( in Edit menu)
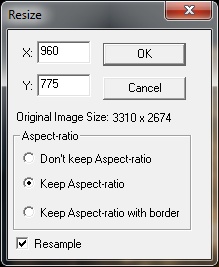
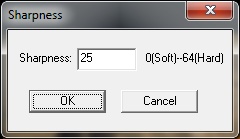
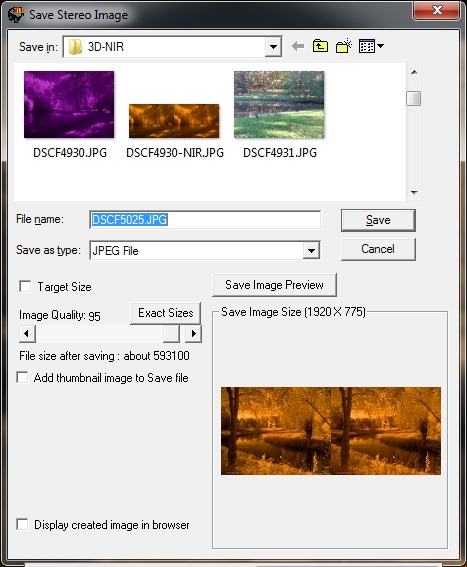
then add text (like a Copyright) and save always in parallel 3D mode for best
quality to disk. Note that with the resize value used, the resulting file is
full HD wide.
